Hi guys,
Lately I’ve been working on some new samples for Panda3D that deal with procedural geometry creation and manipulation. See the pull request on GitHub.
You can find the samples in the attached .zip file:
procedural_geometry.zip (986.9 KB)
The old procedural-cube sample has become quite outdated and recently there were comments about its code not being that great either, so I made an attempt to improve upon it by using a different algorithm to define the sides of the cube.
Firstly, all of the vertices are now added to one single Geom instead of creating a separate Geom for each side.
Secondly, there’s no good reason anymore to call set_two_sided(True) to ensure that all triangles are visible, as the vertex indices are now correctly ordered in counter-clockwise fashion when adding them to the GeomTriangles.
Thirdly, instead of making use of GeomVertexWriters, my version uses memoryviews to access vertex data.
To make things more interesting, I’ve made it possible to add and delete any of the cube’s sides at runtime by direct vertex data manipulation.
All this can be found in the advanced.py sample.
So what’s in basic.py and medium.py then? They both show how to create just a simple square, as well as the importance of counter-clockwise winding order for backface culling; the difference is that basic.py is the only sample in the package that makes use of GeomVertexWriters.
Apart from cube creation, this code package allows you to create 5 standard 3D model primitive types: box, sphere, cylinder, cone and torus. Dedicated classes were implemented for this purpose, which you can find in the src/prim subpackage. There is the ModelMaker base class (in src/prim/base.py), which is more or less modelled after Panda’s own CardMaker class but uses properties rather than getter/setter methods to access creation parameters, and the BoxMaker, SphereMaker etc. classes derived from it (in src/prim/box.py, src/prim/sphere.py etc.).
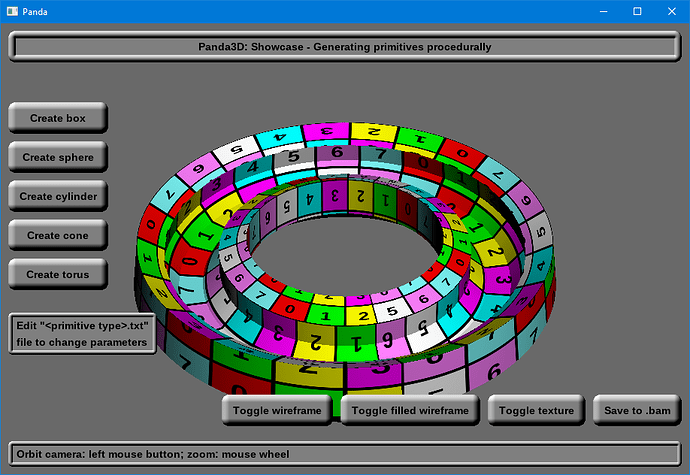
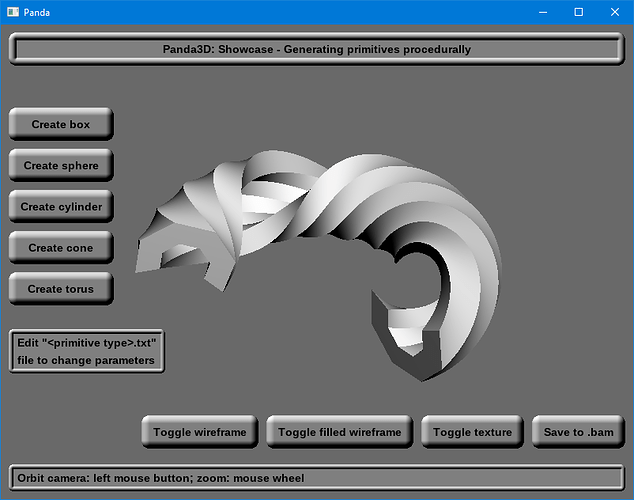
And there are lots of parameters for each primitive type, such that a variety of shapes can be created that sometimes differ greatly from the default shape.
The primitives_showcase.py demo has been specifically provided to quickly check out the results of changing some of the creation parameters in a text file that is parsed to generate the corresponding model primitive.
Each of the parameters is documented in the __init__ methods of the classes.
For example, here’s what a torus could look like:
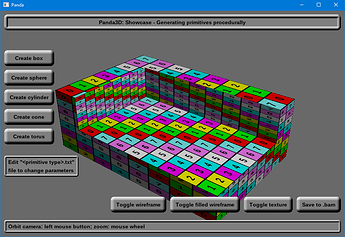
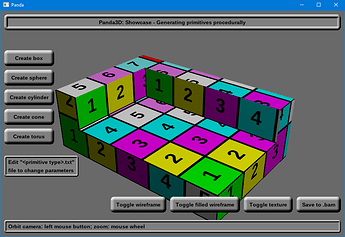
The resulting models can have multiple distinct surfaces, e.g. a cylinder has its main round surface, as well as two end caps. The default UV-mapping might not be what you want, so there’s a tex_units property that allows you to specify the size of a texture - not in pixels, but in object-space units, to easily achieve uniform texture mapping across the model.
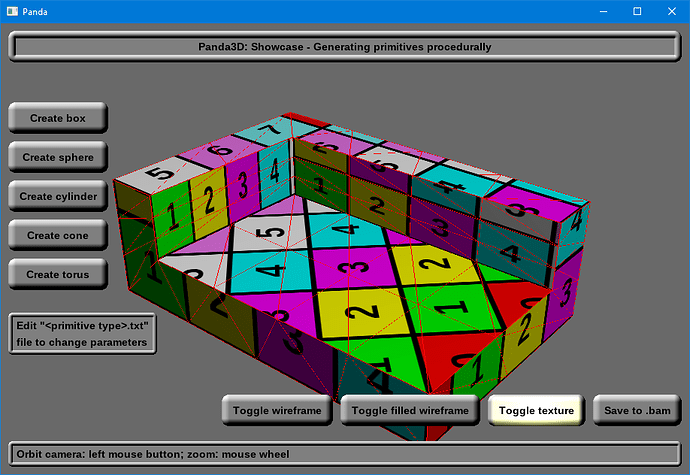
The images below show a box with some of its sides removed; the first one has default UV-mapping, while the second one has the same tex_units value for all of its sides:
And here some additional transformations were applied to the UV’s of each side:
About these classes, what do you guys think, would it be nice to have these added to the Panda3D codebase?
Right now you have to resort to a modelling program and pray that nothing funny happens with export/import, just to get some basic shapes into your scenes. For testing or rapid prototyping, I think this would be more useful than having to load_model("smiley") all the time, to the point that you’re turning into a “frowney” yourself  .
.
EDIT
You can now download the model-generation code separately from this GitHub repository.
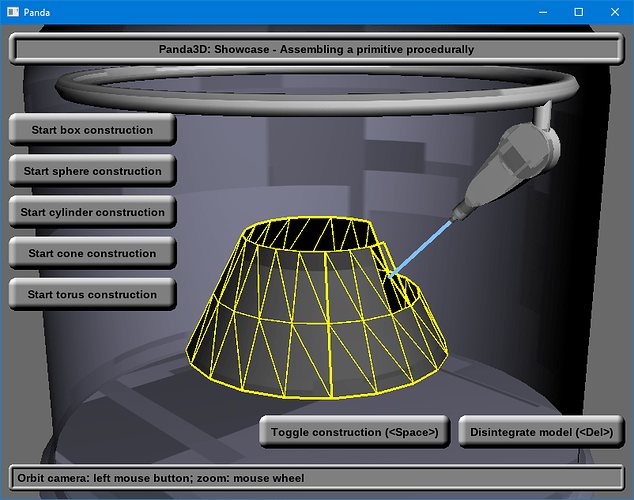
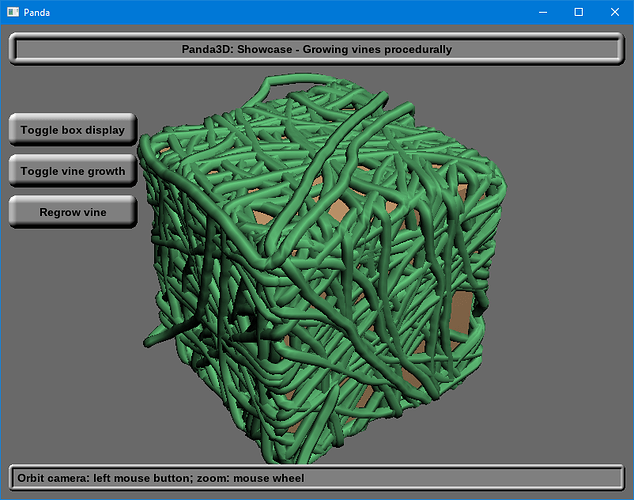
Anyway, let’s get back to the samples. Both primitives_assembly.py and growing_vines.py are actually more like demo’s. Since I don’t feel like writing more than a thousand words about them, here are some pictures:
Enjoy the show!
There is one final thing I’d like to mention about these samples: they all use a custom GUI system. Not only are the widgets made up of the aforementioned procedurally generated primitives, their positions and sizes are also entirely controlled using a system of “sizers”, which maintain their layout when resizing the window. See the code in src/gui if you’re interested in how it works.

 .
.