Hi everyone,
If you ever wondered how to turn low-poly models into smooth-looking objects using subdivision, right inside of Panda3D, then this snippet might be of use to you.
The algorithm used is Catmull-Clark and the biggest part of my implementation of it is an adaptation of this code on GitHub. Credits to the author for providing code that was easy to understand and extend. Although it doesn’t support holes or non-quad polygons, I was able to add this functionality. Another important feature I needed to add was subdivision of the UVs, which I’m glad I got to work as well.
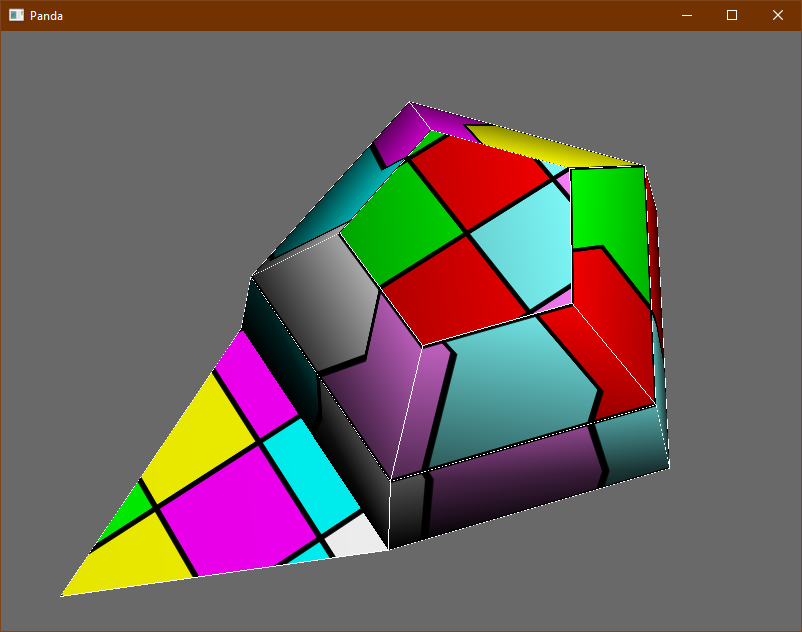
Apart from generating subdivision surfaces, this snippet also contains a wireframe shader that can render quads and higher-degree polygons (by not rendering internal edges) and doesn’t render back faces, so it leads to a cleaner wireframe that clearly shows the quads of subdivided meshes.
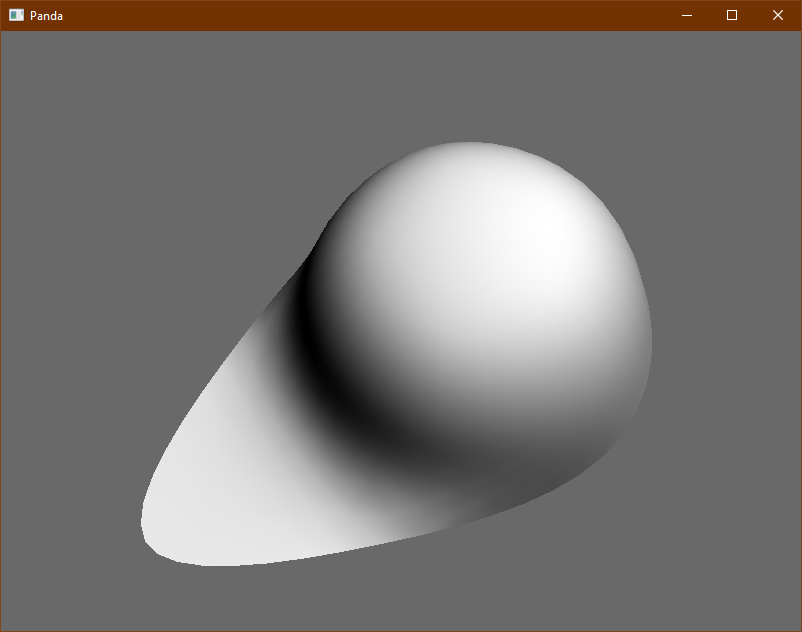
Here are some screenshots of the procedurally generated, cap-like model that serves by default as the object to be subdivided, in different render modes:
-
before subdivision:
-
after 3 subdivisions:
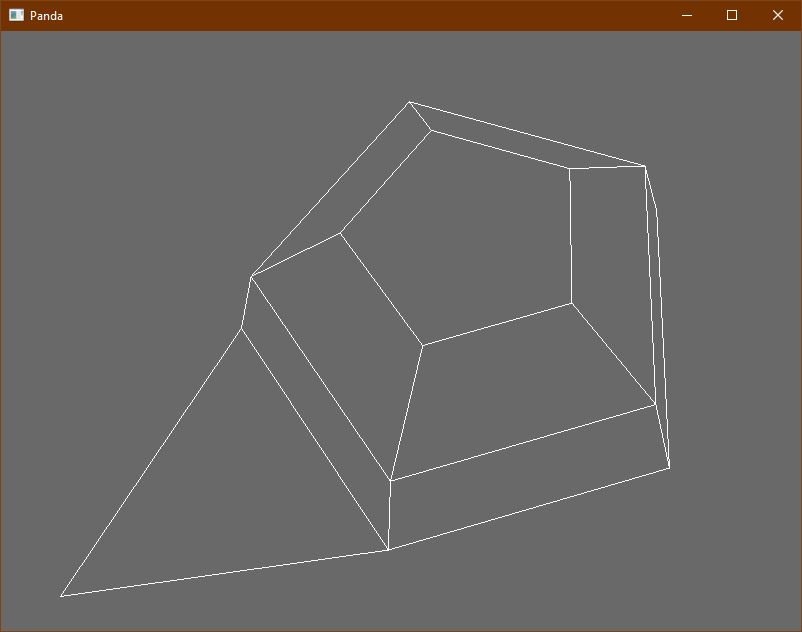
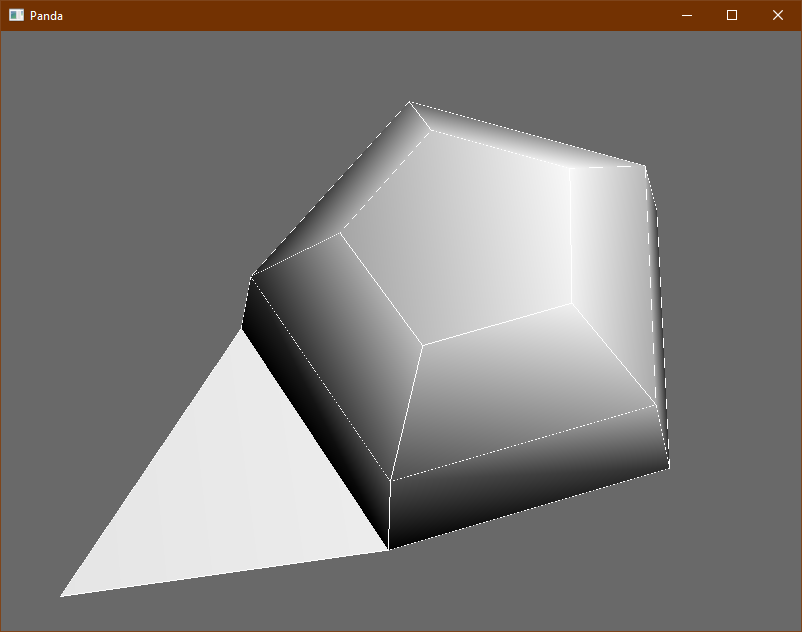
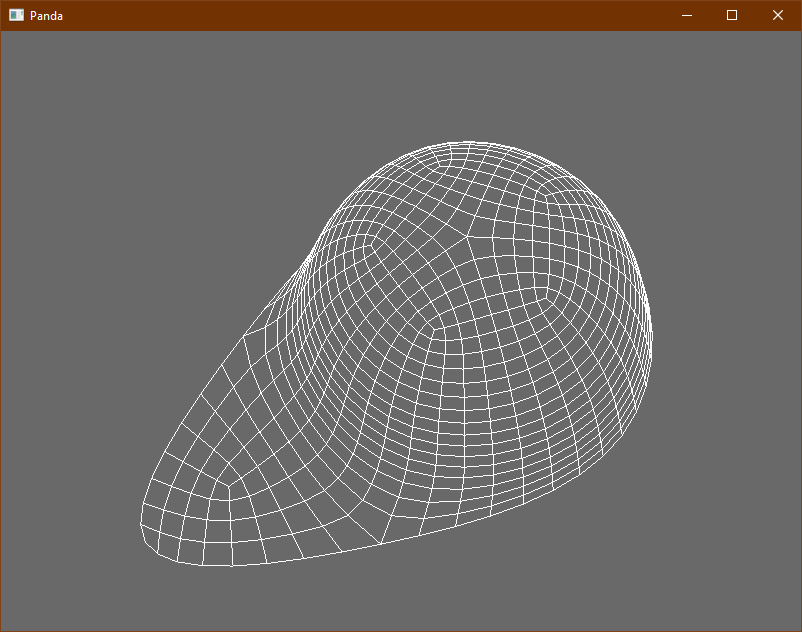
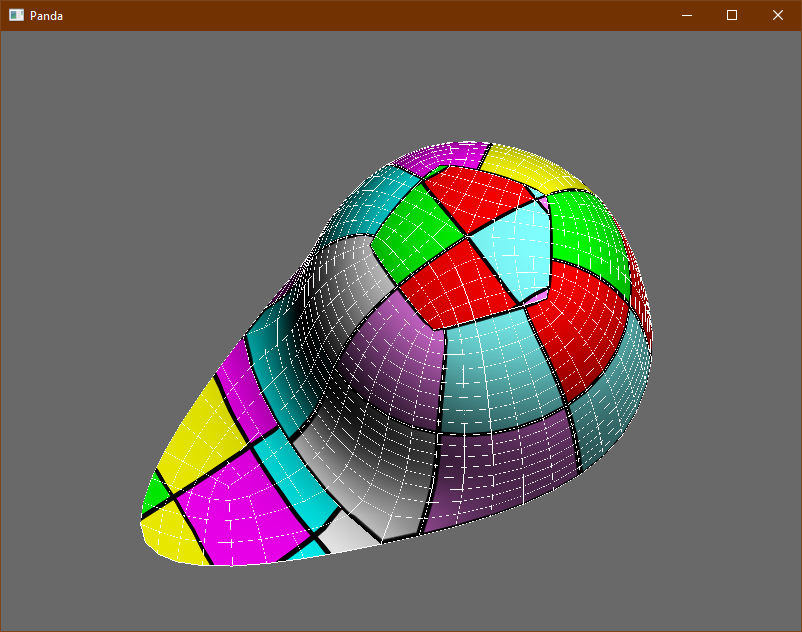
Note that the top of the cap is a pentagon, while the peak is a triangle. The fact that the cap is open at the bottom and along the peak makes it a good choice for testing subdivision along borders as well.
So how does it work?
The subdivide_surfaces method in the main.py module (see below) needs specific input data (called geom_data), which describes the geometry (vertices, triangles and polygons) of the model to be subdivided. This data is then refined to be used as the input for the actual Catmull-Clark algorithm: vertex positions and faces (lists that index into the list of vertex positions).
When you want to create your own models procedurally with the intent to subdivide them, you should find a way to compute this data based on their shape, since there isn’t a general way to do this.
But how to get that data for an imported model? This is quite complicated; the data needs to describe a “valid” surface, meaning that e.g. each edge should not connect more than two polygons, while a vertex on a border should connect exactly two border edges. Depending on the topology of the mesh, this can be a daunting task to figure out. On top of that, a triangle mesh doesn’t give visually pleasing results when applying Catmull-Clark to it; it works best with quad-based meshes. Don’t worry, the provided geom_data.py module contains code to determine valid mesh surfaces and optionally quadrangulates them. The quadrangulation algorithm is not perfect, but it does give reasonably good results. The cleaner the mesh, the better all this will work.
Be sure to use relatively low-poly models, or it will take a long time to process and subdivide them.
You can find the code in this Gist:
- firstly, the
catmull_clark.pymodule containing the actual Catmull-Clark implementation; - then, the
geom_data.pyhelper module to compute the data needed for subdividing an imported model; - and finally the
main.pymodule that you need to run.
Press R to switch between filled, wireframe and filled wireframe render modes, S to subdivide once and T to toggle the texture.
Have fun  .
.