Install:
-
Panda3D-SDK-1.10.7 x86: https://www.panda3d.org/download/sdk-1-10-7/
-
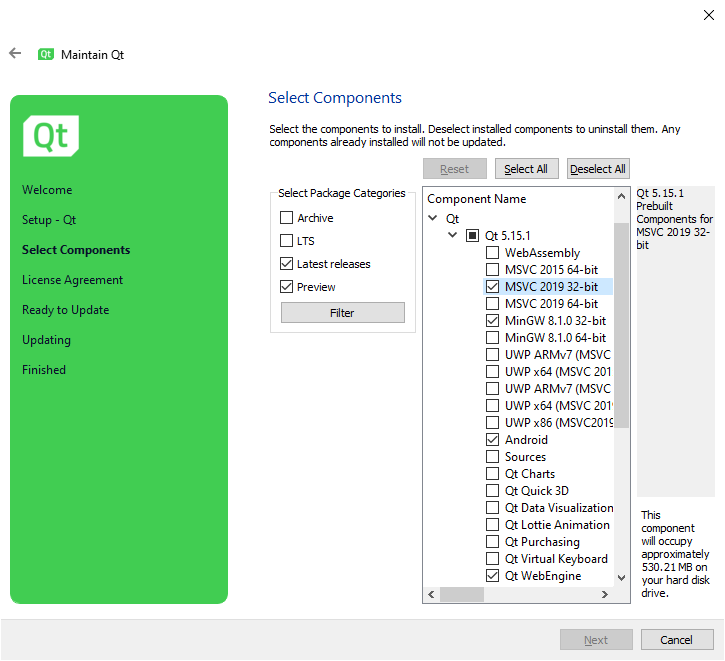
Qt 5.15.1 for MSVC 2019 32-bit: https://www.qt.io/download-open-source
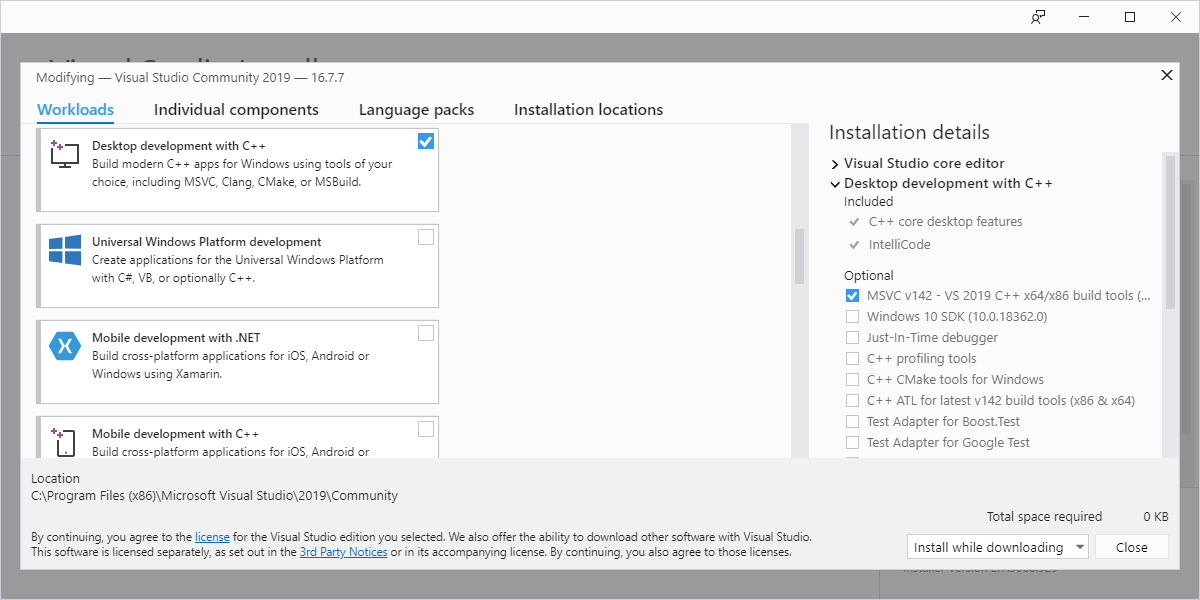
- MSVC v142 - VS 2019 C++ x64/x86 build tools. Use Visual Studio Installer: https://visualstudio.microsoft.com/downloads/
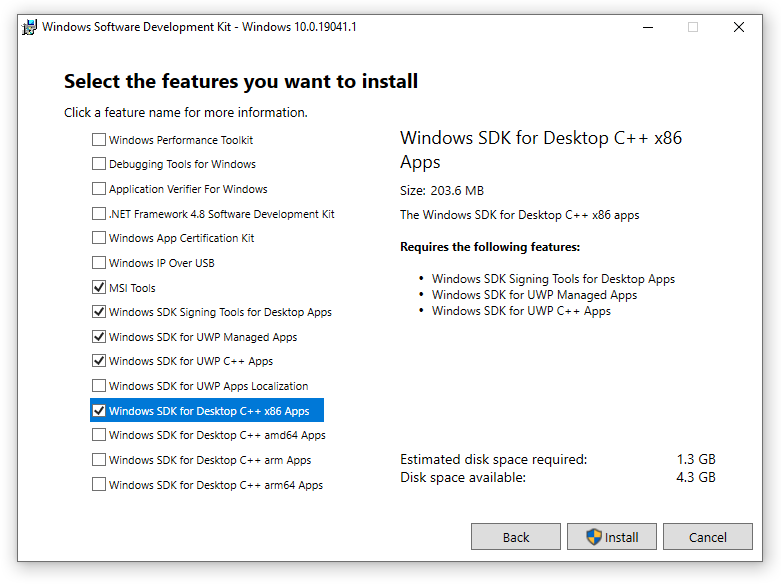
- Windows Software Development Kit - Windows 10.0.19041.1 from here: https://developer.microsoft.com/en-us/windows/downloads/windows-10-sdk
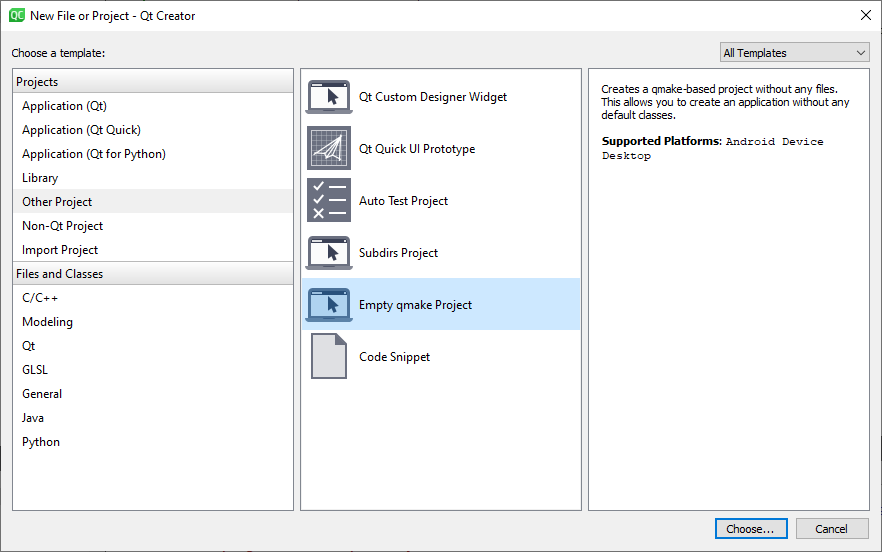
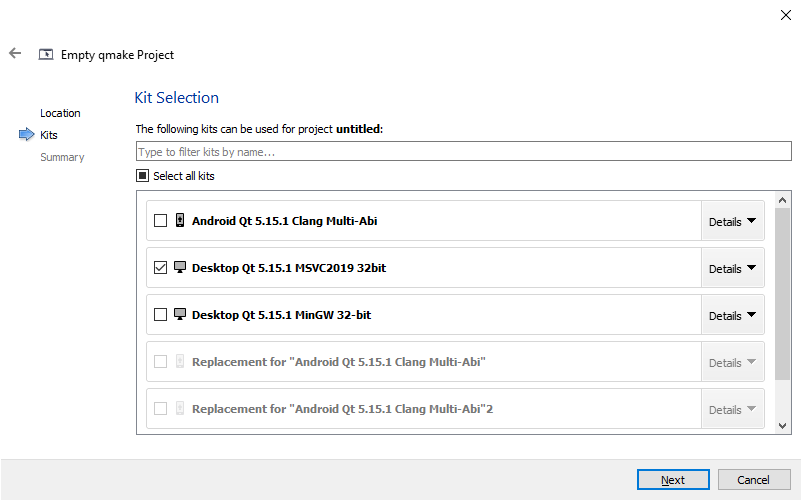
Add the “C:\Panda3D-1.10.7\bin” path to the Path variable. Create an empty project in Qt Creator IDE:
Select “Desktop Qt 5.15.1 MSVC2019 32 bit”:
Add these settings to the “.pro” file:
INCLUDEPATH += "C:\Panda3D-1.10.7\include"
LIBS += -L"C:\Panda3D-1.10.7\lib"
LIBS += -llibp3framework -llibpanda -llibpandaexpress -llibp3dtool -llibp3dtoolconfig -llibp3direct
Create the “main.cpp” file. Copy the first example from the manual: Creating a New Panda3D Application
main.cpp
#include "pandaFramework.h"
#include "pandaSystem.h"

int main(int argc, char *argv[]) {
  // Open a new window framework
  PandaFramework framework;
  framework.open_framework(argc, argv);

  // Set the window title and open the window
  framework.set_window_title("My Panda3D Window");
  WindowFramework *window = framework.open_window();

  // Here is room for your own code

  // Do the main loop, equal to run() in python
  framework.main_loop();
  framework.close_framework();
  return (0);
}
Switch Qt Creator to “Release”:

Run the project.