Trying to obtain Panda3ds synthesized shaders (or looks)

Hold down the right mouse-button and (gently) move the mouse upwards–you should see the surface then.

In short, the program leaves the surface at the default (0, 0, 0)–thus putting it outside of the region viewed by the camera in the latter’s default position and orientation.

However, it also leaves the default camera-control active, allowing one to pull the camera back by doing as I described above.

I see the problem in the fact that you did not provide the original data of the scene. Therefore, it is impossible to write a shader that will satisfy you. When you used the auto shader, it used scene data, light position, material, vertex data. At the moment, you specify this arbitrarily, which prevents you from getting the same results as an auto shader. For example, the direction of the light source should be indicated relative to the camera position. And not in world coordinates and so on, in fact there are a lot of factors.

It’s strange that your scene disappeared after applying my shader. However, which exporter do you use?

you are right, I forgot said information, upon initialization the light and materials is mostly blank and default data (zeroed vectors) with the exception of the light direction which I only found out was 0,1,0 hours ago.

However I have dynamic lighting that changes based on the loading sector you are on, but I know that information, the light is all 0,6 and the ambient is all 0.5. (so it is all default with the exception of those colors)

as for your shader I did not use a exporter (unless you are talking about the models which I think is yabee/blender), I used the file in your zip. to be fair, it was only the 1st try, I have never had shader just work on its first try, I need tweak and play around with it to suit it to my code. :+1:


Edit: so here is a video my first tweaking of your shader, I got it to work and it gave off a really cool effect, one I would love to implement in a different project, I would have post picture of it but a picture could not show what I see (I will delete this later after you have confirmed you seen it)
:removed to conserve bandwidth

yes, that worked!


it is a nice looking texture :slightly_smiling_face:

Please note that I have not implemented ambient lighting. You can easily fix it.
vec4 result = vec4(0, 0, 0, 0);
replace at your discretion, perhaps panda provides a variable in the shader, but I do not know its name.
vec4 result = vec4(0.5, 0.5, 0.5, 1);
The interaction of lighting with the material, implemented only using the diffuse parameter, the rest should be implemented by you if necessary.

So a quick update, first I would like to thank serega-kkz, because of loadPrcFileData(“”, “gl-coordinate-system default”) I learned that panda uses right-handed Y-up coordinates for its spaces rather then the left handed that the program expects, so I was able to fix my TBN matrix because of this, thanks man.


I wanted to see where I went wrong, so I started playing the with dumped Cg shader and tweaking it along, and I found a familiar result, only when I changed lvec from attr_light(3).xyz to my light direction vector found on my GLSL shader did the shaders become nearly the same.the GLSL is on the left while the tweaked Cg is on the right.


this means I was completely wrong on what attr_light0[3].xyz; is, it is not a directional vector, it must be a transformed vector or a combination of the light direction and something else, I am going to experiment on what it is tomarrow

1 Like

Please note that I have not implemented ambient lighting. You can easily fix it.
vec4 result = vec4(0, 0, 0, 0);
replace at your discretion, perhaps panda provides a variable in the shader, but I do not know its name.
vec4 result = vec4(0.5, 0.5, 0.5, 1);
The interaction of lighting with the material, implemented only using the diffuse parameter, the rest should be implemented by you if necessary.

your bump test or in my game? I can try this in a while.

I did it! once again a thanks to serega-kkz for this, as I was looking at his shader for adjusting the ambient, I then noticed his code was pulling light attributes through, and attr_light0(3) looked like a light attribute, so I did a similar process to my own code like his to pull light attributes into my own code.

I did not take long to figure out which attribute I needed, and there it worked, with some tweaks, I got it near perfect


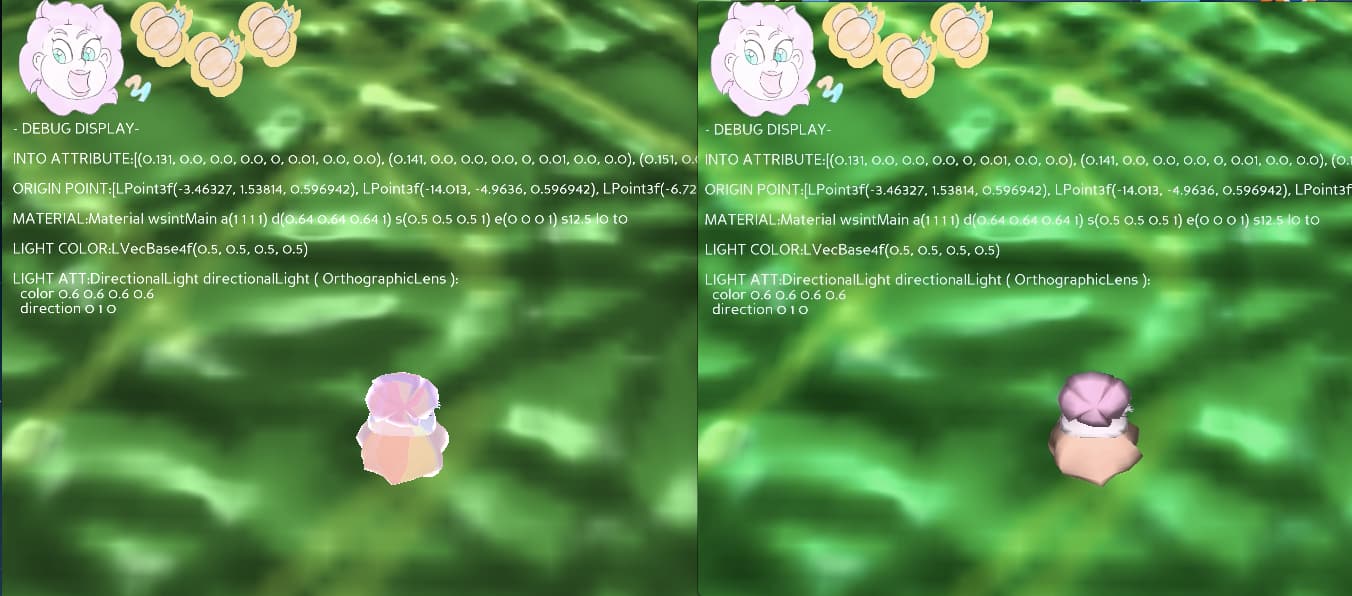
here is the finished shader, the vertex.

# version 150 // vertex shader

uniform mat4 p3d_ModelViewMatrix;
uniform mat4 p3d_ModelViewMatrixInverse;
uniform mat4 p3d_ModelViewProjectionMatrix;

in vec2 p3d_MultiTexCoord0;
in vec3 p3d_Normal;
in vec3 p3d_Binormal;
in vec3 p3d_Tangent;
in vec4 p3d_Vertex;

out vec2 vUv;
out mat3 tbnMatrix;

// “loadPrcFileData('', "gl-coordinate-system default”)” must be set for this to work
void main() {
    vUv = p3d_MultiTexCoord0;
    vec3 tan = normalize(mat3(p3d_ModelViewMatrix) * p3d_Tangent);
    vec3 bi = normalize(mat3(p3d_ModelViewMatrix) * -p3d_Binormal);
    vec3 nrm = normalize(mat3(transpose(p3d_ModelViewMatrixInverse)) * p3d_Normal);
    tbnMatrix = mat3(normalize(tan), normalize(bi), normalize(nrm));

    gl_Position = p3d_ModelViewProjectionMatrix * p3d_Vertex;
}

and the fragment

# version 150 // fragment shader

uniform sampler2D p3d_Texture0;
uniform sampler2D p3d_Texture1;

in vec2 vUv;
in mat3 tbnMatrix;

out vec4 p3d_FragColor;

uniform struct p3d_LightSourceParameters{
    vec4 position;
} p3d_LightSource[1];

void main (){
    // Directional Light (Global)
    vec4 color = vec4(0.6, 0.6, 0.6, 0.6) * 0.6;
    vec3 forward = vec3(0, 1, 0);
    vec3 face = p3d_LightSource[0].position.xyz;
    vec4 scale = vec4(1.0, 1.0, 1.0, 1.0); // colorscale
    vec4 ambient = vec4(0.5, 0.5, 0.5, 0.5);
    vec4 diffuse = vec4(0.64, 0.64, 0.64, 1);
    float specular = 12.5; // negative causes a rim light effect.
    // Translate tangent-space normal in map to view-space.
    vec3 tsNrm = normalize((texture(p3d_Texture1, vUv).xyz * 2) - 1);
    vec3 eyeNrm = normalize(tbnMatrix * tsNrm);
    vec3 halfvec = normalize(face - forward);
    vec4 gloss = color * pow(clamp(dot(eyeNrm, halfvec), 0.0, 1.0), specular);
    // Begin view-space light summation
    vec4 shadow = diffuse + (color * clamp(dot(eyeNrm, face), 0.0, 1.0));
    vec4 summation = clamp((ambient * 0.2) + (shadow * diffuse), 0.0, 1.0);
    summation.a = diffuse.w;
    vec4 result = (summation * scale).rbga * texture(p3d_Texture0, vUv).rgba;
    // End view-space light calculations
    vec3 texel = result.rgb + gloss.rgb;
    p3d_FragColor = vec4(texel, 1.0);
}

now I would mark serega-kkz as the solution since his work solved the shader, but it was originally thuamaturge whom answered the question.weather it was possible to extract shaders from the shader generator.

I will say I want to thank you both though, since you guys made this shader possible, there is still the transparency issue but because panda3d did not provide a shader for
the effect, I will have to source the shader from a outside source, so it is probably best I do this one on my own. anyway, you guys have a good one. :+1:

1 Like

This is the vector of the direction of light in the coordinates of the camera, that is, relative to it.
An analogue of getting it in code. camera.get_relative_vector(self.light_path, Vec3(0, -1, 0))

my apologies, I sometimes read these posts vary late in my days, that I sometimes miss these kind of things, indeed that post had the solution to the shader the whole time, anyway, that is nice to know, thanks.

a quick question tough, it is possible to calculate this in the shader? like what if I had the camera position in the shader, could I use it to get this calculation, I am still new to shaders so I ask.

If the light-vector is initially specified in world-space, then I think that you should be able to convert to camera-space via the View-Matrix (uniform mat4 p3d_ViewMatrix).

More generally, I believe that you can have Panda provide a matrix to transform from one space to another. The relevant uniforms should be listed on the page linked-to below–don’t mind that it’s for CG shaders; the names carry over to GLSL, I believe.
https://docs.panda3d.org/1.10/python/programming/shaders/list-of-cg-inputs

So, if I’m not much mistaken, if you know that you have a vector in the space of NodePath “A” and you want it in the space of NodePath “B”, you can do so via the matrix “uniform mat4 trans_A_to_B”; or if you have a vector in the space of NodePath “A” and want to have it in world-space, you can do so via the matrix “uniform mat4 wstrans_A”. (Presuming that “A” and “B” have been provided as shader-inputs, as appropriate.)

sorry for the late reply, and thanks for letting me know.

alight I solved the transparency issue, it was a simple change from setTransparency(TransparencyAttrib.M_dual, 1) to setTransparency(TransparencyAttrib.M_alphal, 1), found the hint from this thread below, just wanted to mention this just in case anyone has trouble using dual, anyway have a good one guys!
Problems with alpha blending - Scripting Issues - Panda3D

1 Like