Hello to everyone,I am new to Panda3D and so I am still learning,however, I’ve encounered kind of a problem which I am unable to properly undrestand.I am following this tutorial: https://arsthaumaturgis.github.io/Panda3DTutorial.io/tutorial/prologue.html
and I’m currently at level 2.
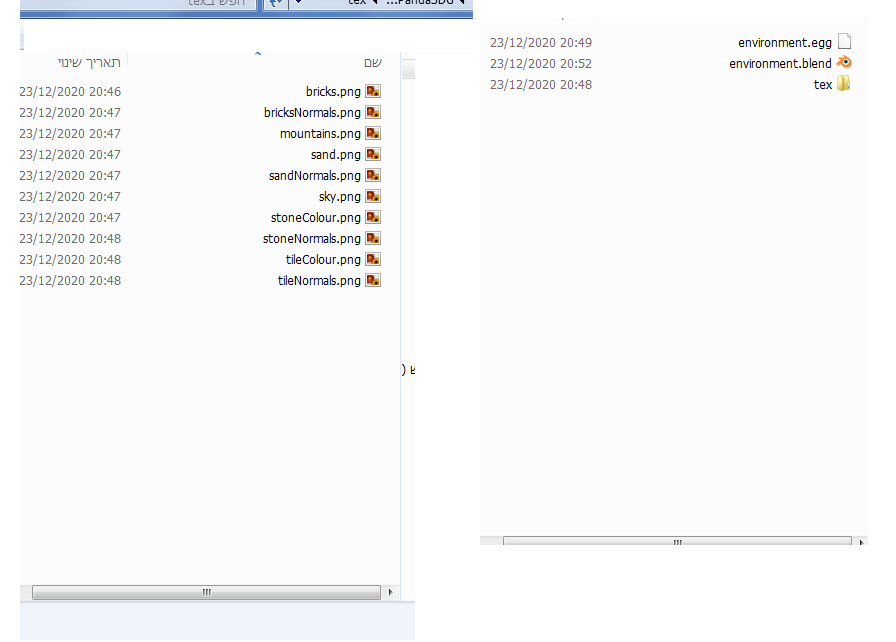
I’ve downloaded Blender, YABEE and the photos(in the tex folder) that he has on his GitHub account
I use the same assets that he uses(https://github.com/ArsThaumaturgis/PandaSampleModels/tree/master/Environment)
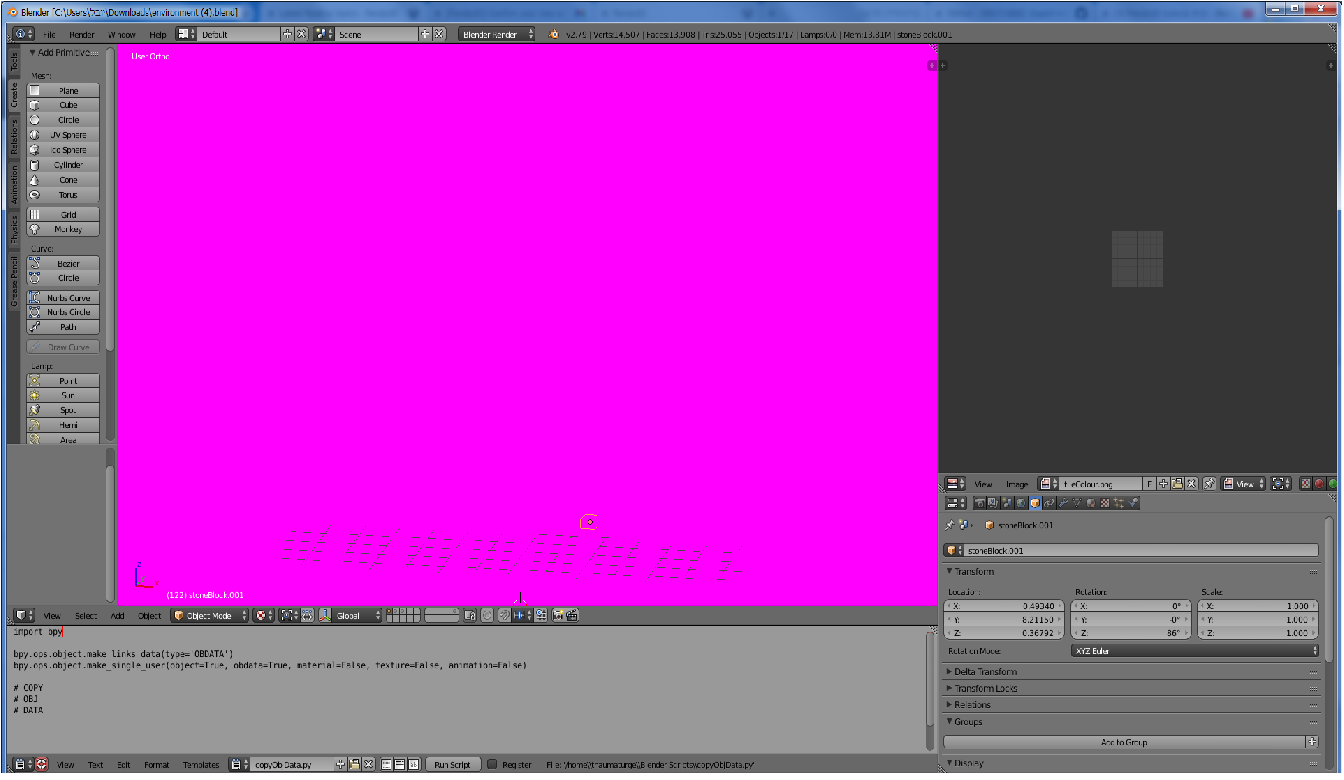
but when opening the blender application with the ‘environment.blender’ file I see this:
Also, for some reason because I am not it would not let me to post more than one picture in a post. so here is the continuation of the question:
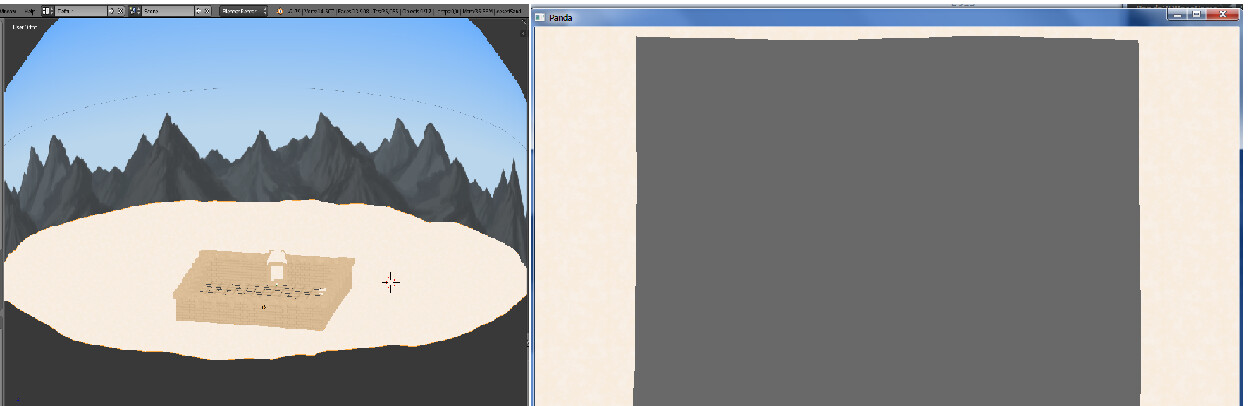
and when running the program I see this:
Greetings, and welcome to the community! 
As to the first issue:
My best guess from that screenshot is that the textures aren’t in the location relative to the “.blend” file that the file expects.
You can check whether this is in fact the case easily enough:
- Select any of the objects that show up as magenta.
- In the “Properties” view (the panel at the bottom-right of your screenshot) select the “Material” tab (the one that depicts a sphere).
- In that tab, select the material assigned to the object.
- This is simply to make sure that the material is selected when we attempt to examine its texture in the next step.
- Now select the “Texture” tab (the one immediately to the right of the “Material” tab).
- You should see a list of textures, and a preview beneath that.
- If the preview looks incorrect–i.e. black–then you likely have a problem with the location of the texture.
The “Start Here” page of the tutorial gives a fuller listing of the expected texture-locations, I believe, but in this case the short version is this: the textures are expected to be in a folder named “tex”, and that folder is expected to be in the same location as the “.blend” file.
(I see that you mention in your post that you do indeed have the folder so named, so perhaps it’s the location that’s the problem.)
That is, if “environment.blend” is in the folder “c:\cat”, then the textures are expected to be in the folder “c:\cat\tex”.
As to the second issue:
I’m not quite sure of what’s going on there, I’m afraid.
Did you use YABEE to re-export any of the models? If so, perhaps there was an error in that process. In that case, perhaps try loading the “.egg” files from the repository–that should tell us whether the problem lies with the newly-exported models, or elsewhere.
thanks for answering, I did not think I would be answered by the maker of the tutorial! I’m filled with awe.
As for your first suggestion, it’s indeed looks black but I don’t know where the problem is. I have all the textures and they are in the same folder as the environment.egg
so I’m not quite sure what to do.
I used YABBE to export the file environment.blend which is on your git to egg
I’m touched that you feel so! 
Hmm… Very odd indeed. That should work. And indeed, a quick test on my end by re-downloading the environment file and some of the textures indicates that it does–at least on my machine, and under Linux.
Actually, there’s a thought: I’m not sure that I’ve tried the “.blend” files under Windows. Perhaps Blender doesn’t convert file-paths for its current operating system.
If so, try the following:
- Select an object and go to one of its texture-entries, as described above.
- Now scroll down to the text-entry that’s labelled “Source”.
- You should see a file-path along the lines of “//tex/<file-name>.png”–e.g. “//tex/bricks.png”. In this file-path, remove the first two forward-slashes, and replace any others with back-slashes.
- So “//tex/bricks.png” would become “tex\bricks.png”.
Does that fix the appearance of that one texture?
This brings me to my next point: while exporting the models via YABEE might be useful as practice, it shouldn’t be required in order to follow the tutorial–the asset-repository should include “.egg” versions of the files as well as the “.blend” versions.
So, turning to what you see when you import your “.egg” file, what happens if you replace your exported version with the version from the repository?
[edit] Another thought: When you exported the model from Blender, did you select all of the part of the model? The various elements–walls, sand, etc.–are separate objects, so in order to export them all together, they should all be selected when performing the export.
Actually now it works, I just changed the path of the source. but after doing this two commands:
self.camera.setPos(0, 0, 32)
self.camera.setP(-90)
without loading the panda, I see this:
I’m glad that you’ve made progress.
Hmm… It looks to me like the walls and floor aren’t loading properly for some reason.
Again, is this using the version of the environment model that you exported yourself, or the version from the repository? And if the former, did you select all of the objects in the environment “.blend” file when exporting?
thanks for answering me, I use the model that I exported myself, I just opened blender and chose to export it to egg. I am very new to blender and panda so I dont know what do you mean by ‘selecting’ I just exported it as is.
edit: I just chose to “(De) Select all” it looked as if it indeed chooses all and now it works!
Ah, I’m glad that you got it working!
If you’re not familiar with Blender, I do recommend starting off with the “.egg” files provided with the tutorial, rather than exporting new versions from the “.blend” files–it’s likely easier to learn one thing at a time, I feel.
Still, if you’re making progress with your own exporting, then well and good.