Building Panda3d on a Raspberry Pi 4
Date: April 9, 2020
About
Building Panda3d can be a time-consuming process, especially on single board computers. The goal of this document is to get you building Panda3d on a Raspberry Pi 4 with minimal pain.
This document is based on my experience building Panda3d 1.11 (git master) on Raspbian 10-buster (Desktop) on a Raspberry Pi 4 with 2G of RAM.
Don’t want to build? Download it instead:
The build artifact of this document (compiled on Raspbian 10 Buster Desktop Edition) can be grabbed at: https://drive.google.com/open?id=1f1qUSNmdh8s4D8JjFjzR4xScK1DzAjTA
This build includes ffmpeg support.
Dependencies
Panda3d requires quite a bit of pre-configuration to get going. Thankfully all of the packages you need are in the Debian package repositories.
build-essential

libavformat-dev

libavcodec-dev

libswscale-dev

libsquish-dev

libeigen3-dev

libopenal-dev

libfreetype6-dev

zlib1g-dev

libx11-dev

libjpeg-dev

libvorbis-dev

libogg-dev

libassimp-dev

libode-dev

libssl-dev
So, let’s install those now by running:
sudo apt install build-essential libavformat-dev libavcodec-dev libswscale-dev libsquish-dev libeigen3-dev libopenal-dev libfreetype6-dev zlib1g-dev libx11-dev libjpeg-dev libvorbis-dev libogg-dev libassimp-dev libode-dev libssl-dev
Downloading Panda3d
Now that we have the dependencies installed, we need to download Panda3d. We can snag the latest and greatest master branch from the git repository by running:
git clone https://github.com/panda3d/panda3d.git
Building Panda3d
cd panda3d
Next, we need to invoke MakePanda, which is Panda3d’s smart build script that will handle everything from dependency detection to building everything we need for Python to run Panda3d based programs.
python3 makepanda/makepanda.py --everything --installer --threads=2 --use-gles2
(Note that we use python3 on our system because we’re targeting python 3.0 - If you’re still on 2.7, then run MakePanda with your python2 executable)
This process will take quite a while. On my setup, it took about 3.5 hours. On higher-end systems with more available memory, feel free to mess with the --threads argument to potentially squeeze more power out of the build process.
Installing Panda3d
After the build process runs, it generates a .deb artifact that we can use with the Debian package installer to install Panda3d to our system. At the time of this writing, the deb file was panda3d1.11_1.11.0_armhf.deb though the name will change depending on the version you’re compiling.
Let’s install the package by running:
sudo dpkg -i panda3d1.11_1.11.0_armhf.deb
Afterward, we should be able to test things out by running the Panda3d sample programs.
Configuration (Look here when things don’t work)
By default, configurations are read from /etc/Config.prc, so the values I have listed below are saved there. What is listed below is not the entire config. Anything not listed is left as the default.
load-display pandagl

fullscreen #t

show-frame-rate-meter #t
Testing Your Panda3d Installation
Panda3d ships with several samples located in /usr/share/panda3d/samples. Let’s run the Roaming Ralph sample to make sure we’re good:
cd /usr/share/panda3d/samples/roaming-ralph

python3 main.py
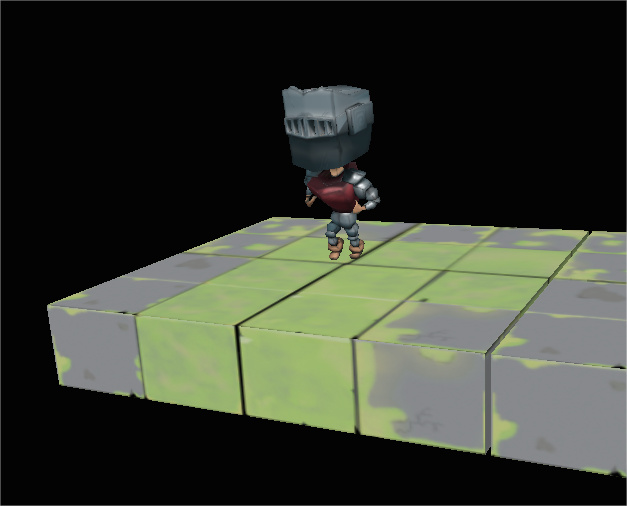
You should see the little Ralph character submerged in a 3d world with complete skybox. You should also be able to move him around using the keyboard shortcuts listed on the screen. On my setup, this runs at 50-60fps. In order to enable the on-screen FPS display, set show-frame-rate-meter #t in your /etc/Config.prc file.
Changes To This Document
In the event that I missed anything, or if you’d like to contribute updates, just let me know in this thread or on Discord (JimmyHacksThings). Any changes will be reflected in the appropriate sections above and annotated here.
- April 9, 2020 - Initial Revision
 There were no path to Panda3D. I had another message “Unable to load libpandagl.so”. I changed load-display setting to “p3tinydisplay” and images renders well but probably “pandagl” is something better (better performance or something?). Do you have any issue with pandagl?