How to properly move the lens/frustum for shadows?

I was looking at the code from @rdb here Sample: using directional lights+shadows effectively to learn how to use shadows properly.

Overall, the shadow casted looks pretty good. But I can’t figure out how to move the lens/frustum correctly.

The below code here is taken from that example, and makes a nice shadow:

sun = DirectionalLight('sun')
sun.set_color_temperature(6000)
sun.color = sun.color * 4
self.sun_path = self.render.attach_new_node(sun)
self.sun_path.set_pos(2, 8, 8)
self.sun_path.look_at(0, 0, 0)
self.render.set_light(self.sun_path)

# Enable shadows; we need to set a frustum for that.
sun.get_lens().set_near_far(1, 1000)
sun.get_lens().set_film_size(20, 40)
sun.show_frustum()
sun.set_shadow_caster(True, 4096, 4096)

self.street.set_light(self.sun_path)

This makes a nice looking shadow for my player as shown, but the shadow disappears when the player moves out of the lens:

However, I tried to make the lens larger to cover the whole street area which resulted in blocky pixelated looking shadows… I had read that this would happen in sever other posts.

So then I tried to make the lens move with the player. I am not sure if this is the correct way to go about it. It worked, but the entire ground in the visible lens gets a large shadow on it only when moving the player (it disappears and shows the desired shadow when the player stops moving).

 self.sun_path.look_at(self.ninja.get_pos())

When stopping the player from moving, the lens has moved and shadow looks good (the black rectangle goes away):

Now that I look at it though I think the shadow is not facing the correct direction after moving.

How should I go about moving the lens? Else is there a way to make the lens fit the entire ground area without losing shadow quality?

Thank you for the support!

The simplest solution is to synchronize the position of the player and the light source in the task. Since the position does not matter when the light is directed, then this will be the best option.

oh so you mean I should move the position of the sun/directional light itself? And thanks for the speedy reply!

Yes, just move the sun relative to the player. Set it higher and update only the x and y coordinates.

It’s not right, you’re just making the sun look at player.

1 Like

Thank you so much! I will give that a try.

A dummy node located where the sun should be in relation to the player is suitable for this. By moving it, you can always stay in the shade.

yep good call will make sure to try that!

Okay yep thanks that is working much better!

I see just a tiny amount of shadow discoloration appearing when moving, but maybe I need to tweak some things still. That above bit of code now looks like this (oh and the model is now a soldier and not a ninja):

self.dummy_light_node = NodePath('DummyLightNode')

sun = DirectionalLight('sun')
sun.set_color_temperature(6000)
sun.color = sun.color * 4
sun_path = self.dummy_light_node.attach_new_node(sun)
sun_path.set_pos(2, 8, 8)  # use this to change position of sun
sun_path.look_at(0, 0, 0)
self.render.set_light(sun_path)

# Enable shadows; we need to set a frustum for that.
sun.get_lens().set_near_far(1, 1000)
sun.get_lens().set_film_size(20, 40)
sun.show_frustum()
sun.set_shadow_caster(True, 4096, 4096)

self.dummy_light_node.reparent_to(self.render)

And then just for testing now I am putting this in my update method:

self.dummy_light_node.set_pos(self.soldier.get_pos())

I had to take a screencast and then take screenshots of the screencast to get the issue.

Walking forward looks okay:

But then an odd dark area shows when walking backwards:
bk

It’s not visible in all directions though. I will try to change some values to see if I can fix it.

One other thing I forgot to mention was that I needed the simplepbr lib to even get the shadows to appear to begin with… not sure if it’s relevant to the issue or not:

pbr_init(enable_shadows=True)

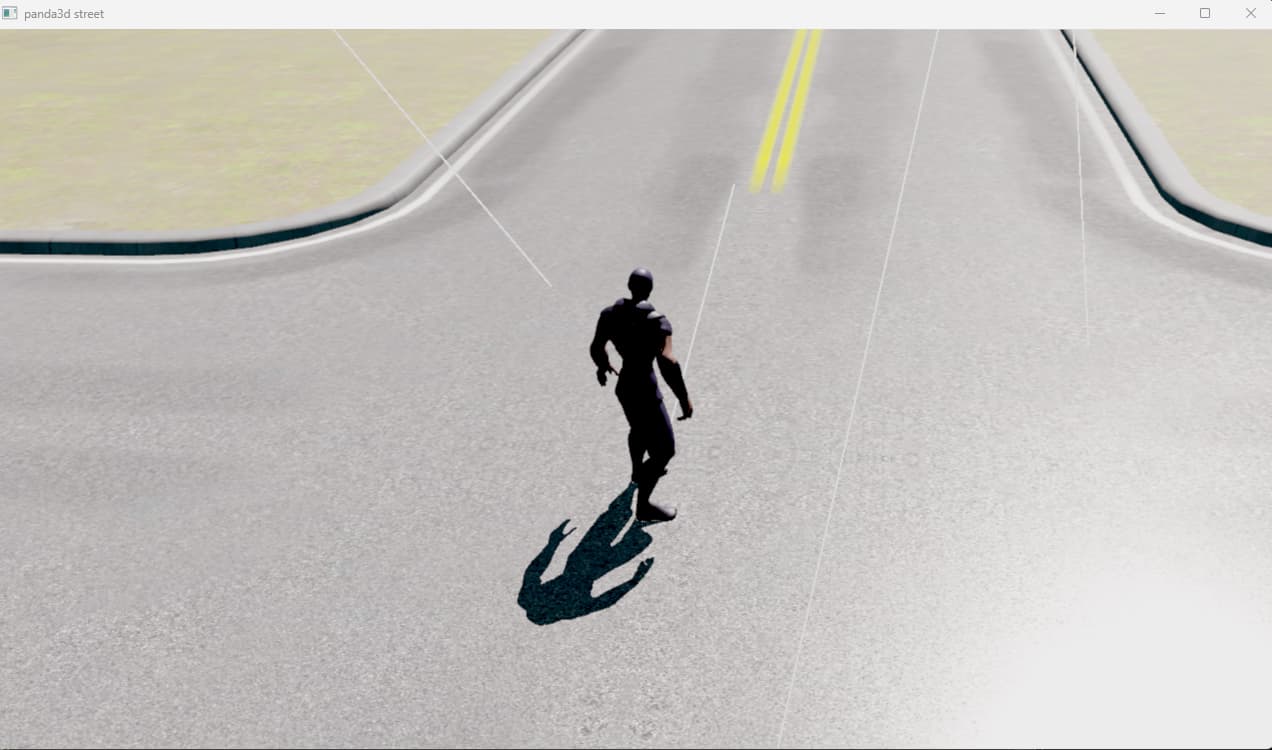
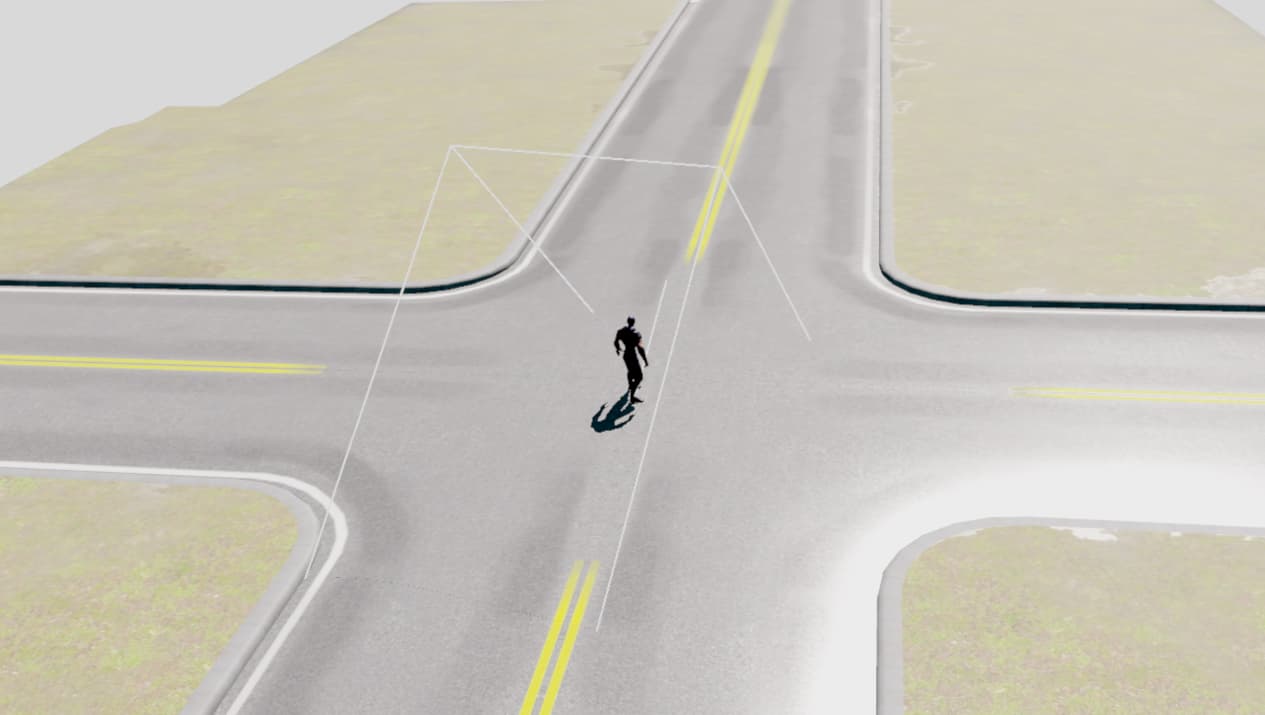
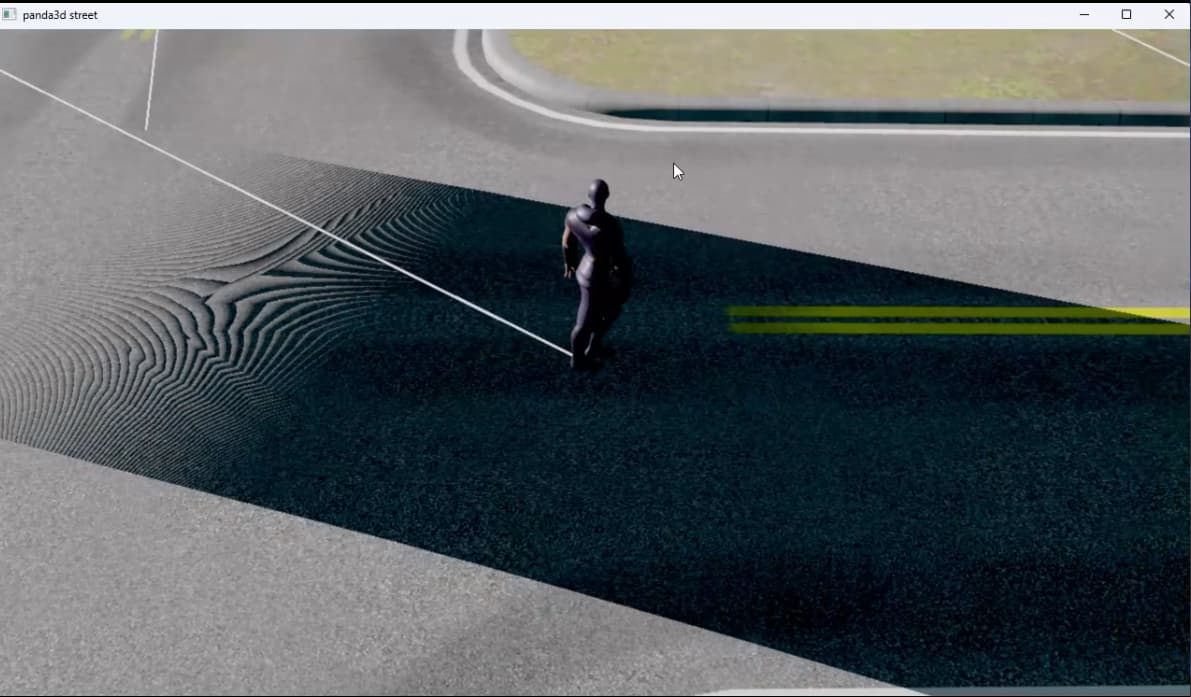
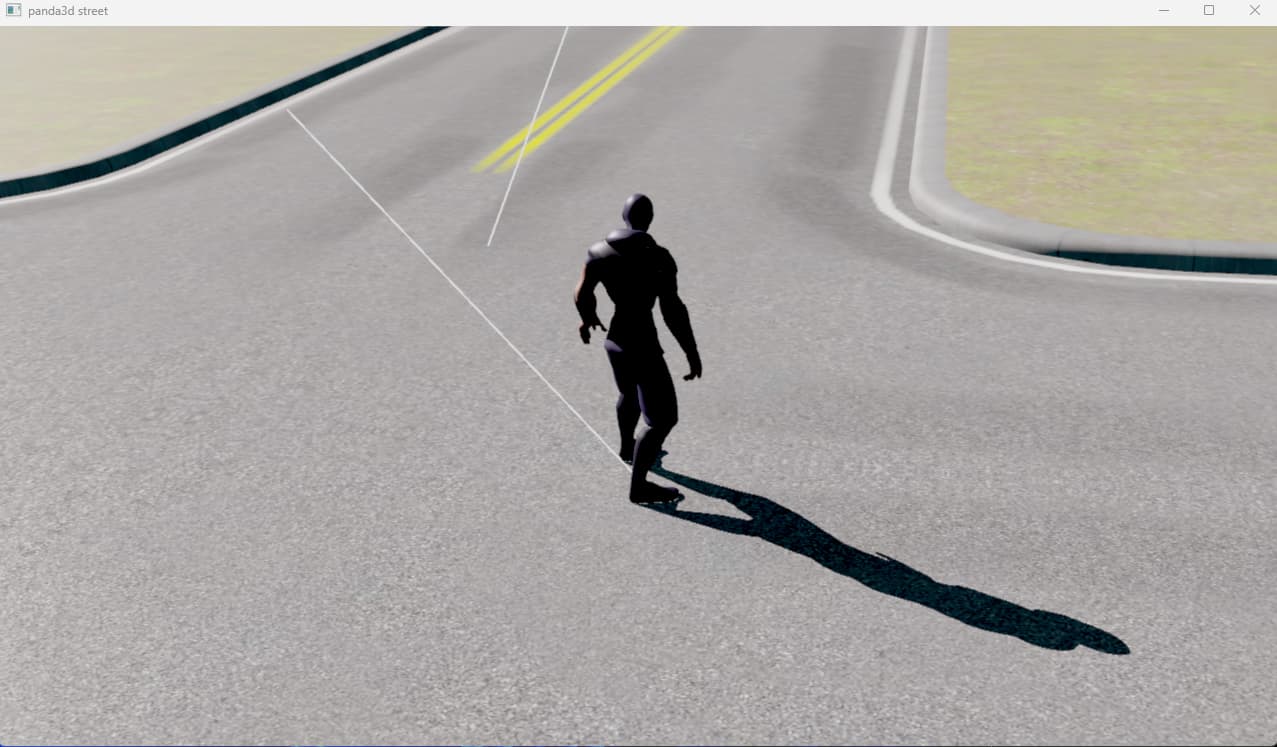
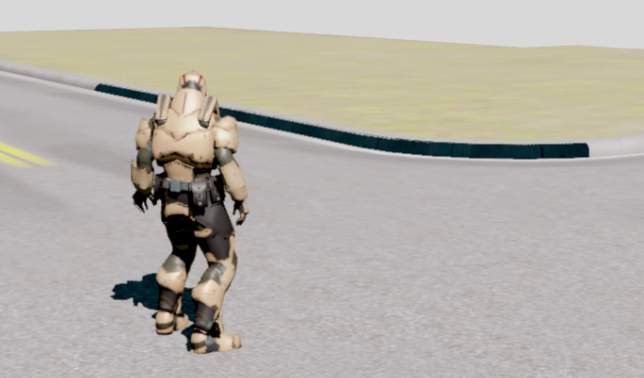
I modified the example of ralph to show what I meant. Please note that I only suggested updating by the X and Y coordinates relative to the object.

#!/usr/bin/env python

# Author: Ryan Myers
# Models: Jeff Styers, Reagan Heller
#
# Last Updated: 2015-03-13
#
# This tutorial provides an example of creating a character
# and having it walk around on uneven terrain, as well
# as implementing a fully rotatable camera.

import sys
sys.path.append("../../")

from direct.showbase.ShowBase import ShowBase
from panda3d.core import CollisionTraverser, CollisionNode
from panda3d.core import CollisionHandlerQueue, CollisionRay
from panda3d.core import Filename, AmbientLight, DirectionalLight
from panda3d.core import PandaNode, NodePath, Camera, TextNode
from panda3d.core import CollideMask
from direct.gui.OnscreenText import OnscreenText
from direct.actor.Actor import Actor
import random
import os
import math

# Function to put instructions on the screen.
def addInstructions(pos, msg):
    return OnscreenText(text=msg, style=1, fg=(1, 1, 1, 1), scale=.05,
                        shadow=(0, 0, 0, 1), parent=base.a2dTopLeft,
                        pos=(0.08, -pos - 0.04), align=TextNode.ALeft)

# Function to put title on the screen.
def addTitle(text):
    return OnscreenText(text=text, style=1, fg=(1, 1, 1, 1), scale=.07,
                        parent=base.a2dBottomRight, align=TextNode.ARight,
                        pos=(-0.1, 0.09), shadow=(0, 0, 0, 1))


class RoamingRalphDemo(ShowBase):
    def __init__(self):
        # Set up the window, camera, etc.
        ShowBase.__init__(self)

        # Set the background color to black
        self.win.setClearColor((0, 0, 0, 1))

        # This is used to store which keys are currently pressed.
        self.keyMap = {
            "left": 0, "right": 0, "forward": 0, "cam-left": 0, "cam-right": 0}

        # Post the instructions
        self.title = addTitle(
            "Panda3D Tutorial: Roaming Ralph (Walking on Uneven Terrain)")
        self.inst1 = addInstructions(0.06, "[ESC]: Quit")
        self.inst2 = addInstructions(0.12, "[Left Arrow]: Rotate Ralph Left")
        self.inst3 = addInstructions(0.18, "[Right Arrow]: Rotate Ralph Right")
        self.inst4 = addInstructions(0.24, "[Up Arrow]: Run Ralph Forward")
        self.inst6 = addInstructions(0.30, "[A]: Rotate Camera Left")
        self.inst7 = addInstructions(0.36, "[S]: Rotate Camera Right")

        # Set up the environment
        #
        # This environment model contains collision meshes.  If you look
        # in the egg file, you will see the following:
        #
        #    <Collide> { Polyset keep descend }
        #
        # This tag causes the following mesh to be converted to a collision
        # mesh -- a mesh which is optimized for collision, not rendering.
        # It also keeps the original mesh, so there are now two copies ---
        # one optimized for rendering, one for collisions.

        self.environ = loader.loadModel("models/world")
        self.environ.reparentTo(render)

        # Create the main character, Ralph

        ralphStartPos = self.environ.find("**/start_point").getPos()
        self.ralph = Actor("models/ralph",
                           {"run": "models/ralph-run",
                            "walk": "models/ralph-walk"})
        self.ralph.reparentTo(render)
        self.ralph.setScale(.2)
        self.ralph.setPos(ralphStartPos + (0, 0, 0.5))
        self.ralph.setLightOff()

        # Create a floater object, which floats 2 units above ralph.  We
        # use this as a target for the camera to look at.

        self.floater = NodePath(PandaNode("floater"))
        self.floater.reparentTo(self.ralph)
        self.floater.setZ(2.0)

        # Accept the control keys for movement and rotation

        self.accept("escape", sys.exit)
        self.accept("arrow_left", self.setKey, ["left", True])
        self.accept("arrow_right", self.setKey, ["right", True])
        self.accept("arrow_up", self.setKey, ["forward", True])
        self.accept("a", self.setKey, ["cam-left", True])
        self.accept("s", self.setKey, ["cam-right", True])
        self.accept("arrow_left-up", self.setKey, ["left", False])
        self.accept("arrow_right-up", self.setKey, ["right", False])
        self.accept("arrow_up-up", self.setKey, ["forward", False])
        self.accept("a-up", self.setKey, ["cam-left", False])
        self.accept("s-up", self.setKey, ["cam-right", False])

        taskMgr.add(self.move, "moveTask")

        # Game state variables
        self.isMoving = False

        # Set up the camera
        self.disableMouse()
        self.camera.setPos(self.ralph.getX(), self.ralph.getY() + 10, 2)

        # We will detect the height of the terrain by creating a collision
        # ray and casting it downward toward the terrain.  One ray will
        # start above ralph's head, and the other will start above the camera.
        # A ray may hit the terrain, or it may hit a rock or a tree.  If it
        # hits the terrain, we can detect the height.  If it hits anything
        # else, we rule that the move is illegal.
        self.cTrav = CollisionTraverser()

        self.ralphGroundRay = CollisionRay()
        self.ralphGroundRay.setOrigin(0, 0, 9)
        self.ralphGroundRay.setDirection(0, 0, -1)
        self.ralphGroundCol = CollisionNode('ralphRay')
        self.ralphGroundCol.addSolid(self.ralphGroundRay)
        self.ralphGroundCol.setFromCollideMask(CollideMask.bit(0))
        self.ralphGroundCol.setIntoCollideMask(CollideMask.allOff())
        self.ralphGroundColNp = self.ralph.attachNewNode(self.ralphGroundCol)
        self.ralphGroundHandler = CollisionHandlerQueue()
        self.cTrav.addCollider(self.ralphGroundColNp, self.ralphGroundHandler)

        self.camGroundRay = CollisionRay()
        self.camGroundRay.setOrigin(0, 0, 9)
        self.camGroundRay.setDirection(0, 0, -1)
        self.camGroundCol = CollisionNode('camRay')
        self.camGroundCol.addSolid(self.camGroundRay)
        self.camGroundCol.setFromCollideMask(CollideMask.bit(0))
        self.camGroundCol.setIntoCollideMask(CollideMask.allOff())
        self.camGroundColNp = self.camera.attachNewNode(self.camGroundCol)
        self.camGroundHandler = CollisionHandlerQueue()
        self.cTrav.addCollider(self.camGroundColNp, self.camGroundHandler)

        # Uncomment this line to see the collision rays
        #self.ralphGroundColNp.show()
        #self.camGroundColNp.show()

        # Uncomment this line to show a visual representation of the
        # collisions occuring
        #self.cTrav.showCollisions(render)

        # Create some lighting
        ambientLight = AmbientLight("ambientLight")
        ambientLight.setColor((.3, .3, .3, 1))
        self.alnp = NodePath(ambientLight)
        self.alnp.reparentTo(render)
        render.setLight(self.alnp)

        render.setShaderAuto()

        self.dlight = DirectionalLight('s')
        self.dlight.get_lens().setNearFar(1, 70)
        self.dlight.get_lens().set_film_size(20, 20)
        self.dlight.show_frustum()
        self.dlight.setShadowCaster(True, 4096, 4096)
        
        self.dlnp = NodePath(self.dlight)
        self.dlnp.reparentTo(render)
        self.dlnp.setHpr(0, -45, 0)
        self.dlnp.setPos(-107.575, 0, 25)

        render.setLight(self.dlnp)

    # Records the state of the arrow keys
    def setKey(self, key, value):
        self.keyMap[key] = value

    # Accepts arrow keys to move either the player or the menu cursor,
    # Also deals with grid checking and collision detection
    def move(self, task):

        self.dlnp.setX(self.ralph.getX())
        self.dlnp.setY(self.ralph.getY()-26)

        # Get the time that elapsed since last frame.  We multiply this with
        # the desired speed in order to find out with which distance to move
        # in order to achieve that desired speed.
        dt = globalClock.getDt()

        # If the camera-left key is pressed, move camera left.
        # If the camera-right key is pressed, move camera right.

        if self.keyMap["cam-left"]:
            self.camera.setX(self.camera, -20 * dt)
        if self.keyMap["cam-right"]:
            self.camera.setX(self.camera, +20 * dt)

        # save ralph's initial position so that we can restore it,
        # in case he falls off the map or runs into something.

        startpos = self.ralph.getPos()

        # If a move-key is pressed, move ralph in the specified direction.

        if self.keyMap["left"]:
            self.ralph.setH(self.ralph.getH() + 300 * dt)
        if self.keyMap["right"]:
            self.ralph.setH(self.ralph.getH() - 300 * dt)
        if self.keyMap["forward"]:
            self.ralph.setY(self.ralph, -25 * dt)

        # If ralph is moving, loop the run animation.
        # If he is standing still, stop the animation.

        if self.keyMap["forward"] or self.keyMap["left"] or self.keyMap["right"]:
            if self.isMoving is False:
                self.ralph.loop("run")
                self.isMoving = True
        else:
            if self.isMoving:
                self.ralph.stop()
                self.ralph.pose("walk", 5)
                self.isMoving = False

        # If the camera is too far from ralph, move it closer.
        # If the camera is too close to ralph, move it farther.

        camvec = self.ralph.getPos() - self.camera.getPos()
        camvec.setZ(0)
        camdist = camvec.length()
        camvec.normalize()
        if camdist > 10.0:
            self.camera.setPos(self.camera.getPos() + camvec * (camdist - 10))
            camdist = 10.0
        if camdist < 5.0:
            self.camera.setPos(self.camera.getPos() - camvec * (5 - camdist))
            camdist = 5.0

        # Normally, we would have to call traverse() to check for collisions.
        # However, the class ShowBase that we inherit from has a task to do
        # this for us, if we assign a CollisionTraverser to self.cTrav.
        #self.cTrav.traverse(render)

        # Adjust ralph's Z coordinate.  If ralph's ray hit terrain,
        # update his Z. If it hit anything else, or didn't hit anything, put
        # him back where he was last frame.

        entries = list(self.ralphGroundHandler.entries)
        entries.sort(key=lambda x: x.getSurfacePoint(render).getZ())

        if len(entries) > 0 and entries[0].getIntoNode().name == "terrain":
            self.ralph.setZ(entries[0].getSurfacePoint(render).getZ())
        else:
            self.ralph.setPos(startpos)

        # Keep the camera at one foot above the terrain,
        # or two feet above ralph, whichever is greater.

        entries = list(self.camGroundHandler.entries)
        entries.sort(key=lambda x: x.getSurfacePoint(render).getZ())

        if len(entries) > 0 and entries[0].getIntoNode().name == "terrain":
            self.camera.setZ(entries[0].getSurfacePoint(render).getZ() + 1.0)
        if self.camera.getZ() < self.ralph.getZ() + 2.0:
            self.camera.setZ(self.ralph.getZ() + 2.0)

        # The camera should look in ralph's direction,
        # but it should also try to stay horizontal, so look at
        # a floater which hovers above ralph's head.
        self.camera.lookAt(self.floater)

        return task.cont


demo = RoamingRalphDemo()
demo.run()

Yep I got that… I was thinking where I set the sun_path.set_pos(2, 8, 8) and then set the sun to the dummy node, it seems that I don’t have to make any calculations myself.

So as I move the soldier, the sun is always offset by (2, 2, 8) relative to where the soldier is placed. And it does seem to work well. But I just wasn’t sure about the occasional shadow artifact that I am seeing.

Regarding the shadow artifact, it is possible that the normal is incorrectly specified for this polygon. It may be necessary to recalculate the normals, for example, by a smoothing group in a 3D editor or in some other way. I don’t really know much about modeling, I can’t say more specifically.

1 Like

It looks to me as though the shadow is “too close” to the geometry, perhaps as a result of the geometry being double-sided or the shadow-camera rendering front-faces rather than back-faces.

You see, in shadow-mapping, the shadowing of a given point is determined by comparing distances:

When the shadow-map is rendered, it essentially records the distance between the light and the first shadow-casting object at each point.

Then, when rendering shadows, the distance is found between the current point and the relevant light, and this value is compared to the corresponding point in the shadow-map: if the distance to the current point is greater, then that point is further from the light than the relevant shadow-casting point, and so should be shadowed; if the distance is less, then the point is closer to the light, and so should not be shadowed.

But if the point is itself (more or less) the same one that cast the shadow, then the distances would be close to the same.

Now, biasing the results a bit can help–but it’s possible I think for movement to overcome this bias if it’s small, while if the bias is large it can produce other problems.

So, shadows are–to my understanding–usually rendered with “inverted” geometry–that is, rendering back-faces (those pointed away from the shadow-camera) rather than the usual front-faces (those pointed towards the shadow-camera).

This should, if I have it correct, mean that the issue described above primarily happens in places that are in darkness anyway, presuming that such faces have shadowing applied at all.

However, if the shadow-system is instead set up to render front-faces, or if the geometry being rendered is set to be two-sided (thus effectively making front-faces also back-faces and vice versa), then this presumably won’t work.

It might be worth checking whether your geometry isn’t being made two-sided at some point, either in the 3D modelling program or in code, or somewhere in-between.

If that’s not the source of the problem, then I’m afraid that I don’t have an answer offhand, as I don’t know the shadowing sample being used.

1 Like

I think it’s worth adding to my message that in this situation, shadow rendering does not matter. So this can happen when calculating lighting, if the normal is indicated too rotated from the direction of the light source, but it will appear excessively dark.

1 Like

This is true, but to my eye it doesn’t look like that’s what we’re seeing here.

Especially as it varies with movement–specifically, I would guess, with the movement of the shadow-casting camera and/or the rendering camera.

Thank you both! I will try some things tonight and report back :slight_smile:

1 Like

Hmmm so I forgot that I had this set: self.render.set_depth_offset(-1)

And it seems the problem gets better and better the more I lower that number, and completely disappears at -5.

The shadow looks good from the soldier too. But I don’t know if that is a smart thing to do or not though hahaha.

Hmm… I’m honestly not sure of whether that’s a good idea. Especially as it means that you would presumably have to be careful about setting a depth-offset on any nodes below “render”.

A quick search turned up the following post, which advises instead that you set your depth-offset on your shadow-casting light:

Oh interesting. That post seems like the exact same issue. I may try to adjust the Backface Culling in Blender… Thanks!

1 Like