The link was to a post with this code, sorry I wasn’t verbose.
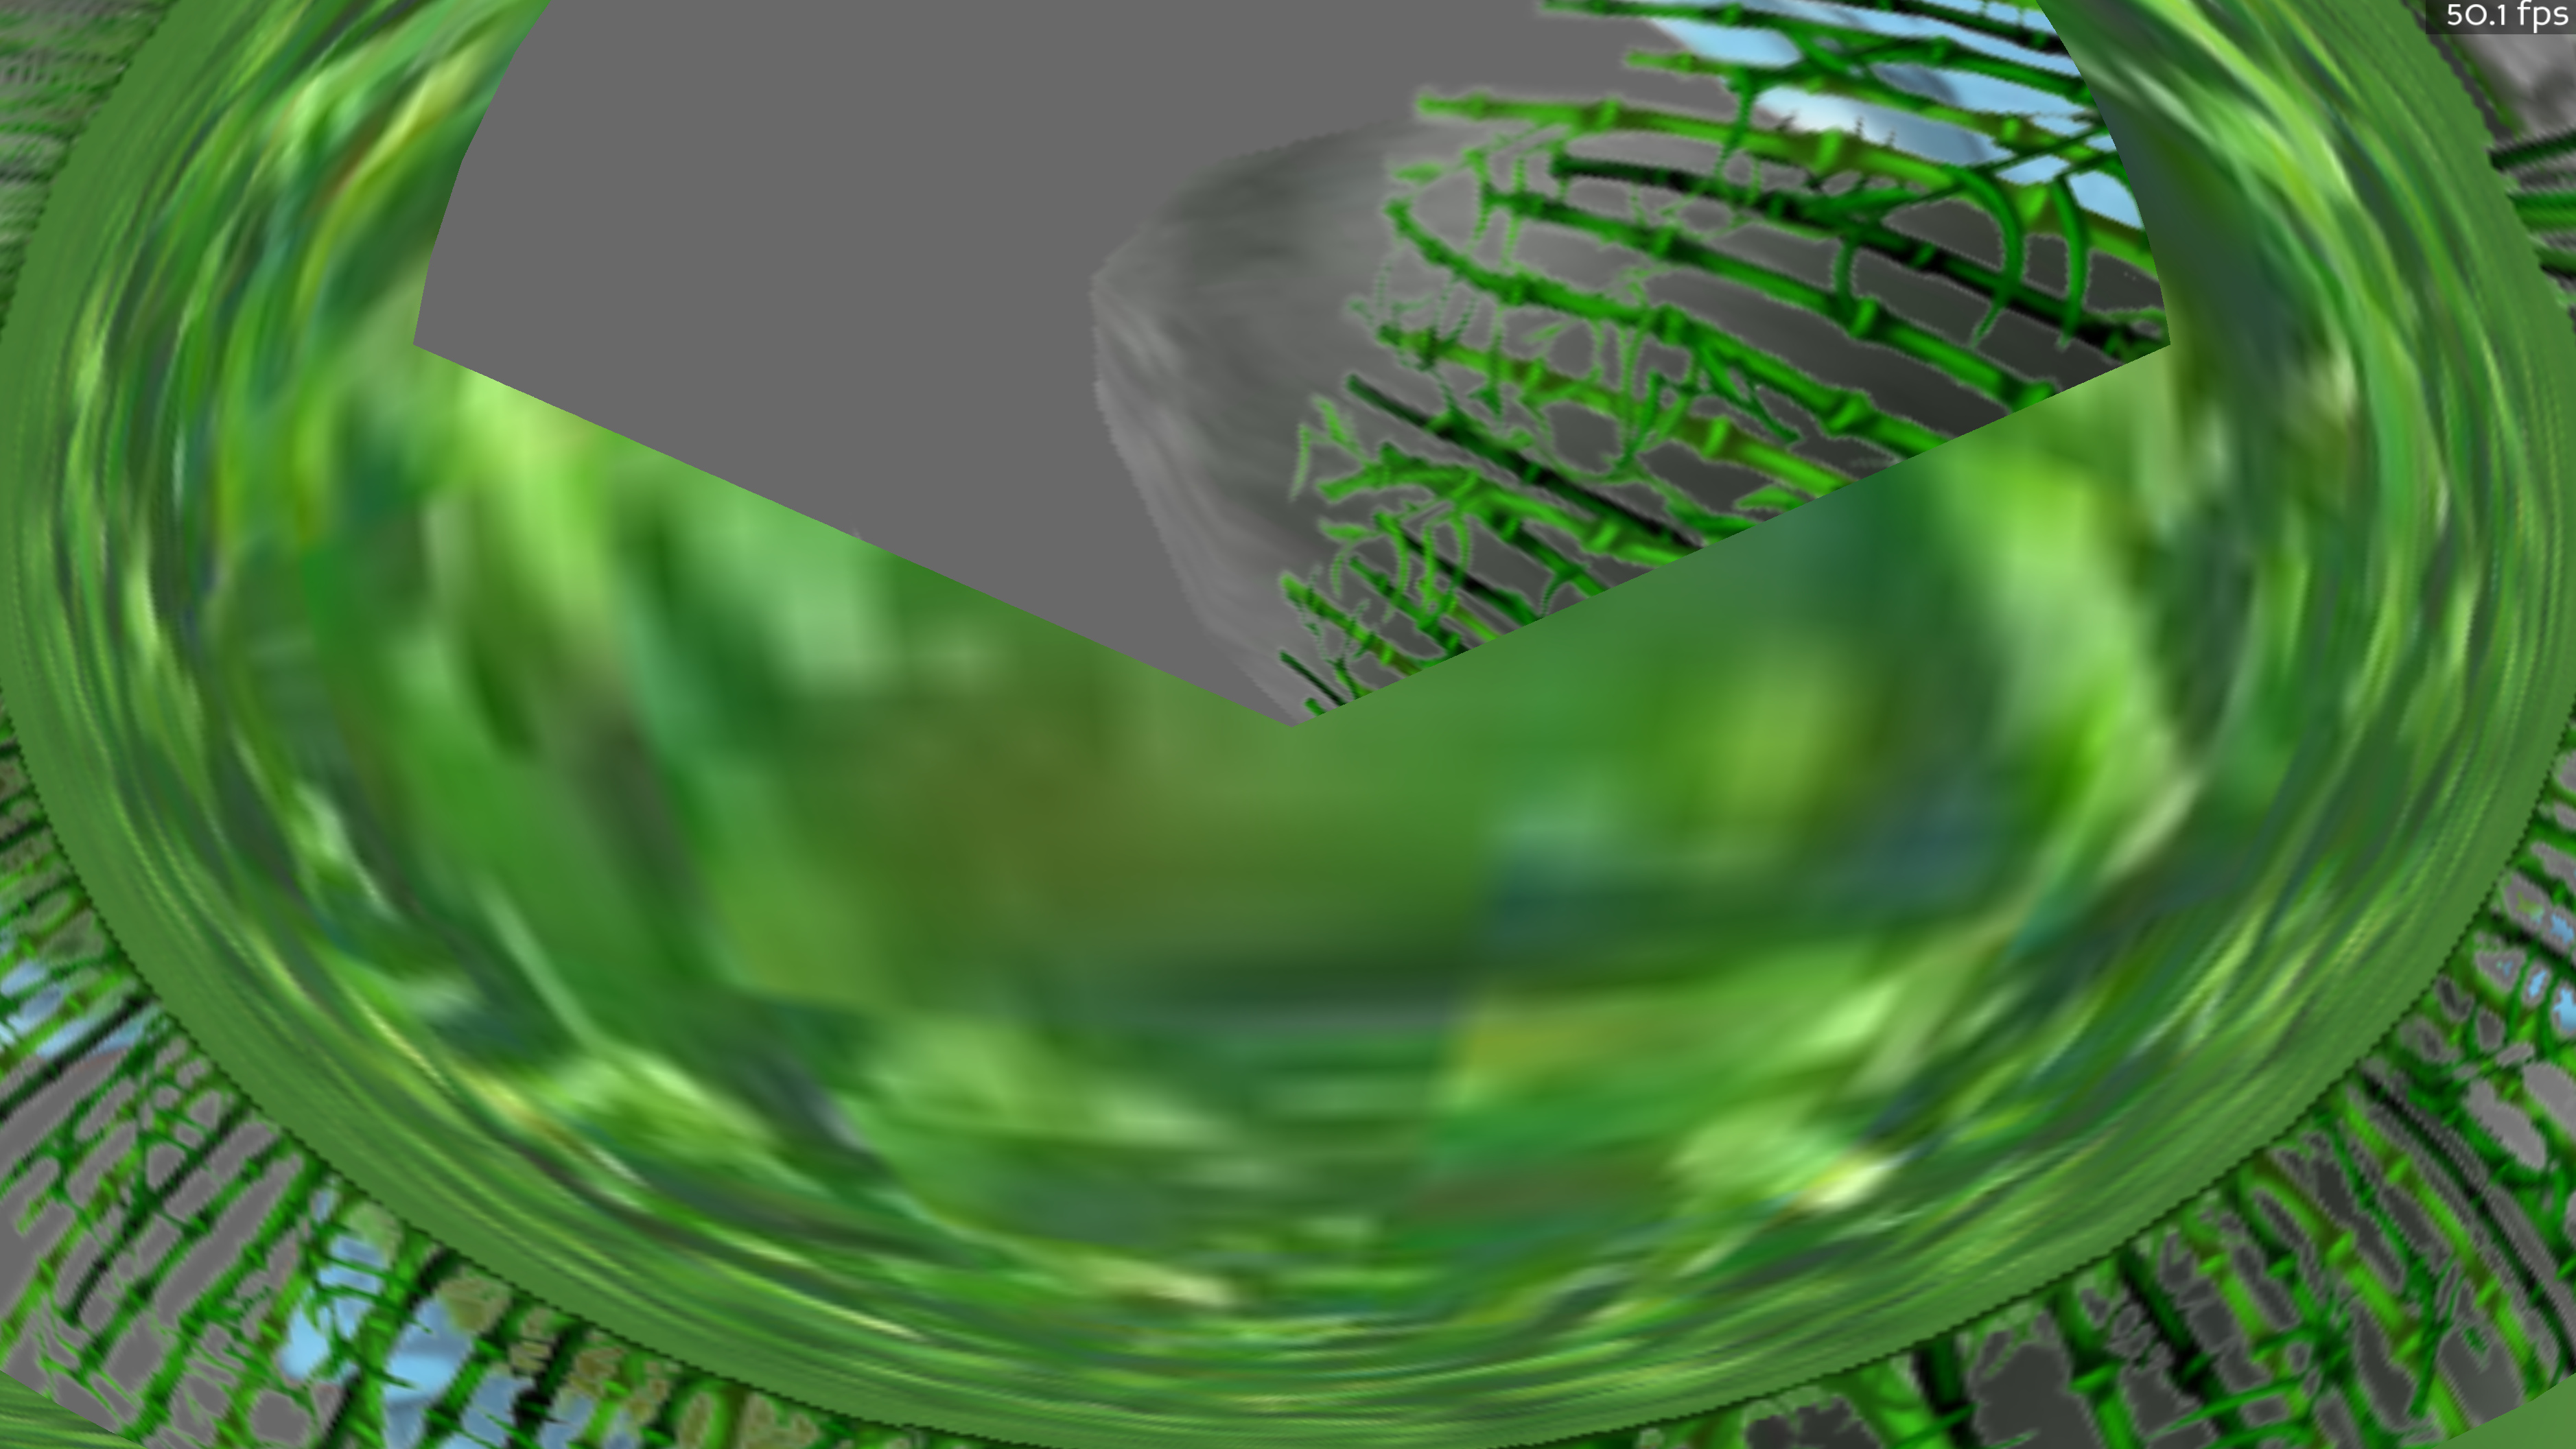
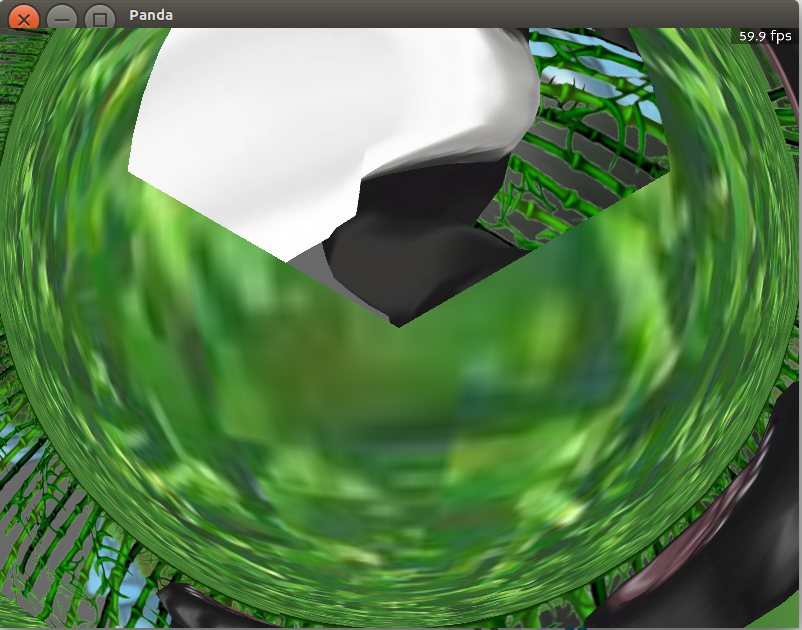
# Make the camera into a fisheye camera using the NonlinearImager.
import direct.directbase.DirectStart
from pandac.PandaModules import *
# scene
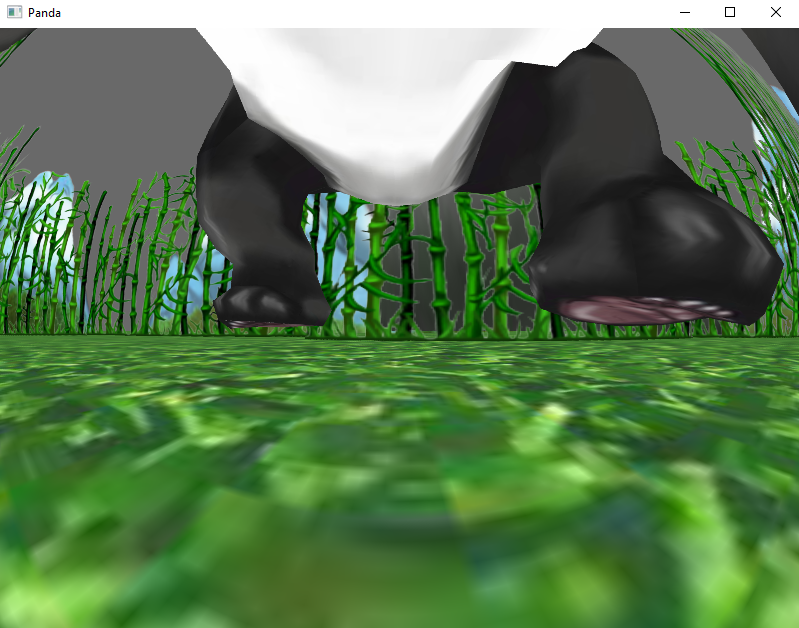
smiley = loader.loadModel('smiley')
smiley.reparentTo(render)
room = loader.loadModel('environment')
room.setPos(0, 0, -10)
room.reparentTo(render)
# A node to attach all the screens together.
screens = NodePath('dark_room')
# A node parented to the original camera node to hold all the new cube
# face cameras.
cubeCam = base.cam.attachNewNode('cubeCam')
# Define the forward vector for the cube. We have this up to the
# upper right, so we can get away with using only the front, right,
# and up faces if we want.
cubeForward = (1, 1, 1)
#cubeForward = (0, 1, 0)
class CubeFace:
def __init__(self, name, view, up, res):
self.name = name
# A camera, for viewing the world under render.
self.camNode = Camera('cam' + self.name)
self.camNode.setScene(render)
self.cam = cubeCam.attachNewNode(self.camNode)
# A projector, for projecting the generated image of the world
# onto our screen.
self.projNode = LensNode('proj' + self.name)
self.proj = screens.attachNewNode(self.projNode)
# A perspective lens, for both of the above. The same lens is
# used both to film the world and to project it onto the
# screen.
self.lens = PerspectiveLens()
self.lens.setFov(92)
self.lens.setNear(0.1)
self.lens.setFar(10000)
self.lens.setViewVector(view[0], view[1], view[2],
up[0], up[1], up[2])
self.camNode.setLens(self.lens)
self.projNode.setLens(self.lens)
# Now the projection screen itself, which is tied to the
# projector.
self.psNode = ProjectionScreen('ps' + self.name)
self.ps = self.proj.attachNewNode(self.psNode)
self.psNode.setProjector(self.proj)
# Generate a flat, rectilinear mesh to project the image onto.
self.psNode.regenerateScreen(self.proj, "screen", res[0], res[1], 10, 0.97)
# Define the six faces.
cubeFaces = [
CubeFace('Right', (1, 0, 0), (0, 0, 1), (10, 40)),
CubeFace('Back', (0, -1, 0), (0, 0, 1), (40, 40)),
CubeFace('Left', (-1, 0, 0), (0, 0, 1), (10, 40)),
CubeFace('Front', (0, 1, 0), (0, 0, 1), (20, 20)),
CubeFace('Up', (0, 0, 1), (0, -1, 0), (40, 10)),
CubeFace('Down', (0, 0, -1), (0, 1, 0), (40, 10)),
]
# Indices into the above.
cri = 0
cbi = 1
cli = 2
cfi = 3
cui = 4
cdi = 5
# Rotate the cube to the forward axis.
cubeCam.lookAt(cubeForward[0], cubeForward[1], cubeForward[2])
m = Mat4()
m.invertFrom(cubeCam.getMat())
cubeCam.setMat(m)
# Get the base display region.
dr = base.camNode.getDisplayRegion(0)
# Now make a fisheye lens to view the whole thing.
fcamNode = Camera('fcam')
fcam = screens.attachNewNode(fcamNode)
flens = FisheyeLens()
flens.setViewVector(cubeForward[0], cubeForward[1], cubeForward[2], 0, 0, 1)
flens.setFov(180)
flens.setFilmSize(dr.getPixelWidth() / 2, dr.getPixelHeight())
fcamNode.setLens(flens)
# And a cylindrical lens for fun.
ccamNode = Camera('ccam')
ccam = screens.attachNewNode(ccamNode)
clens = CylindricalLens()
clens.setViewVector(cubeForward[0], cubeForward[1], cubeForward[2], 0, 0, 1)
clens.setFov(120)
clens.setFilmSize(dr.getPixelWidth() / 2, dr.getPixelHeight())
ccamNode.setLens(clens)
# Turn off the base display region and replace it with two
# side-by-side regions.
dr.setActive(0)
window = dr.getWindow()
dr1 = window.makeDisplayRegion(0, 0.5, 0, 1)
dr1.setSort(dr.getSort())
dr2 = window.makeDisplayRegion(0.5, 1, 0, 1)
dr2.setSort(dr.getSort())
# Set the fisheye lens on the left, and the cylindrical lens on the right.
dr1.setCamera(fcam)
dr2.setCamera(ccam)
# And create the NonlinearImager to do all the fancy stuff.
nli = NonlinearImager()
nli.addViewer(dr1)
nli.addViewer(dr2)
for face in cubeFaces:
i = nli.addScreen(face.ps, face.name)
nli.setSourceCamera(i, face.cam)
nli.setTextureSize(i, 256, 256)
def hideAll():
for i in range(6):
nli.setScreenActive(i, 0)
def showAll():
for i in range(6):
nli.setScreenActive(i, 1)
hideAll() #?
nli.setScreenActive(cfi, 1)
nli.setScreenActive(cri, 1)
nli.setScreenActive(cui, 1)
run()