Create a simple Circle Arc Line Bezier (working code 1.10)

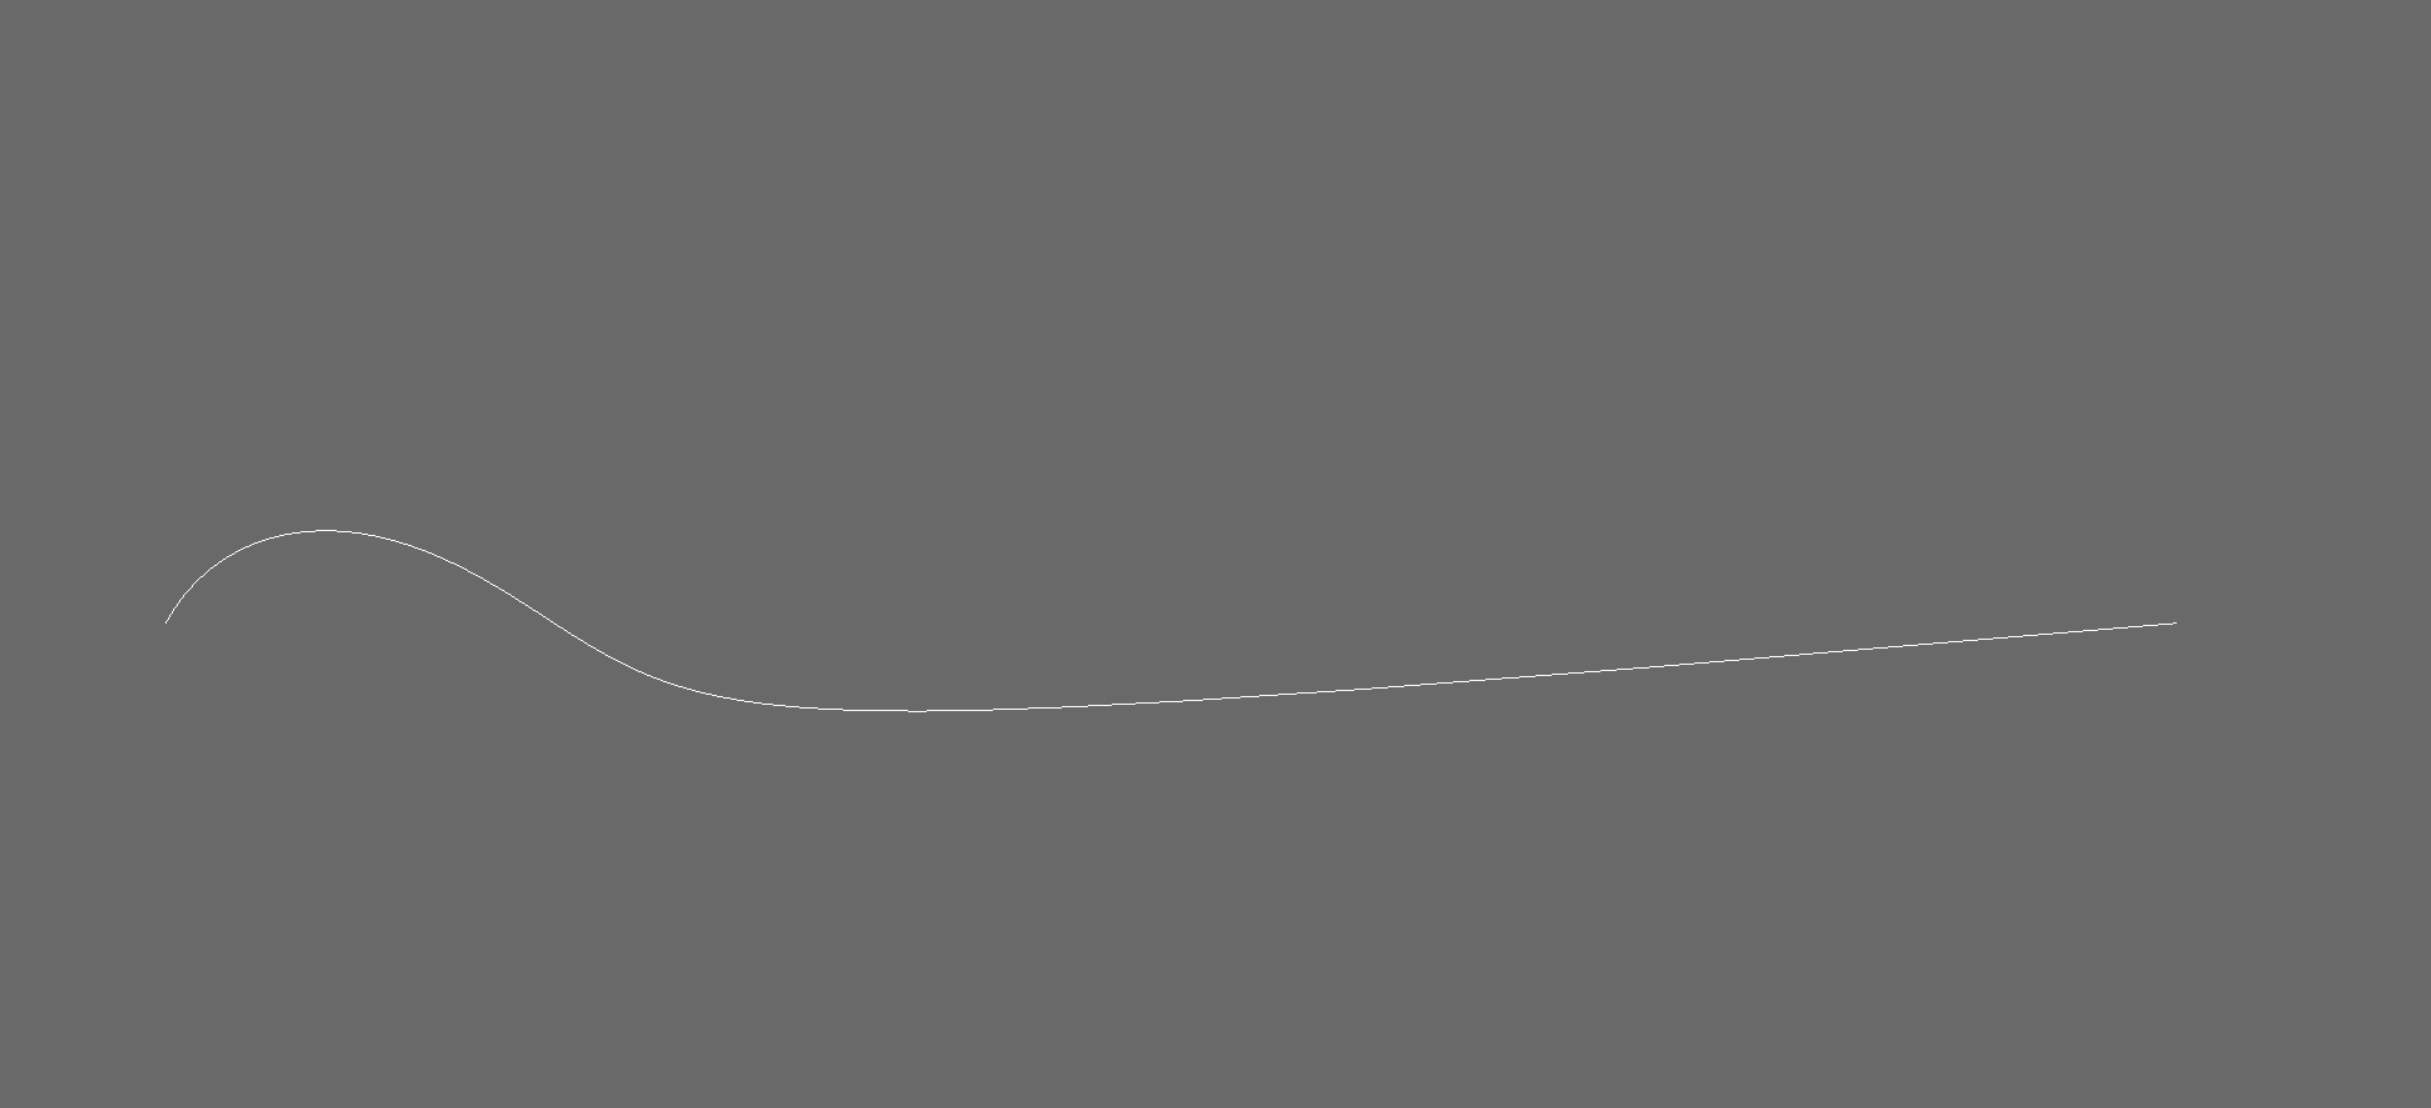
I figured out how to draw a simple bezier curve!

I don’t know why the ’ CubicCurveseg’ class doesn’t seem to work:
CubicCurveseg class for Bezier curves

I still got Bezier to display on screen using ‘LineSegs’

#!/usr/bin/env python3

from direct.showbase.ShowBase import ShowBase
from panda3d.core import LineSegs
from math import comb

class MyApp(ShowBase):
    def __init__(self):
        ShowBase.__init__(self)

        # Set up the camera
        self.setup_camera()

        # Create a LineSegs object
        lines = LineSegs()

        # Set the color of the curve (red)
        lines.set_color(1, 0, 0, 1)

        # Define the control points of the cubic Bezier curve
        control_points = [
            (0, 0, 0),   # Start point
            (1, 0, 0),   # First control point
            (0, 1, 0),   # Second control point
            (1, 1, 0)    # End point
        ]

        # Set the number of subdivisions for the curve
        num_subdivisions = 100

        # Draw the curve
        for i in range(num_subdivisions + 1):
            t = i / num_subdivisions
            point = self.evaluate_cubic_bezier(control_points, t)
            lines.draw_to(point)

        # Create a NodePath to attach the curve geometry
        curve_np = self.render.attachNewNode(lines.create())

        # Set the line thickness
        curve_np.setRenderModeThickness(3)

    def evaluate_cubic_bezier(self, control_points, t):
        n = len(control_points) - 1
        result = [0, 0, 0]
        for i, point in enumerate(control_points):
            coeff = comb(n, i) * (1 - t)**(n - i) * t**i
            for j in range(3):
                result[j] += coeff * point[j]
        return tuple(result)

    def setup_camera(self):
        self.disableMouse()
        camera.setPos(0, 0, 10)
        camera.lookAt(0, 0, 0)

app = MyApp()
app.run()

This is how I drew a ‘ARC’

#!/usr/bin/env python3

from panda3d.core import LineSegs, Point3
from direct.showbase.ShowBase import ShowBase

class MyApp(ShowBase):
    def __init__(self):
        ShowBase.__init__(self)

        # Set up the camera
        self.setup_camera()

        # Create a LineSegs object
        lines = LineSegs()

        # Set the color of the arc (red)
        lines.set_color(1, 0, 0, 1)

        # Define the three points of the arc
        point1 = Point3(-1, 0, 0)
        point2 = Point3(0, 0, 1)
        point3 = Point3(1, 0, 0)

        # Calculate the arc points
        arc_points = self.calculate_arc_points(point1, point2, point3)

        # Draw the arc
        for point in arc_points:
            lines.draw_to(point)

        # Create a NodePath to attach the arc geometry
        arc_np = self.render.attachNewNode(lines.create())

        # Set the line thickness
        arc_np.setRenderModeThickness(3)

    def setup_camera(self):
        self.disableMouse()
        self.camera.setPos(0, -10, 0)
        self.camera.lookAt((0, 0, 0))

    def calculate_arc_points(self, point1, point2, point3):
        # Calculate the arc points using quadratic Bézier curve algorithm
        num_subdivisions = 50
        arc_points = []
        for i in range(num_subdivisions + 1):
            t = i / num_subdivisions
            p0 = point1 + (point2 - point1) * t
            p1 = point2 + (point3 - point2) * t
            p = p0 + (p1 - p0) * t
            arc_points.append(p)
        return arc_points

app = MyApp()
app.run()

Here is a circle

#!/usr/bin/env python3

from direct.showbase.ShowBase import ShowBase
from panda3d.core import LineSegs
from math import cos, sin, pi

class MyApp(ShowBase):
    def __init__(self):
        ShowBase.__init__(self)

        # Set up the camera
        self.setup_camera()

        # Create a LineSegs object
        lines = LineSegs()

        # Set the color of the circle (red)
        lines.set_color(1, 0, 0, 1)

        # Define the center and radius of the circle
        center = (0, 0, 0)
        radius = 1

        # Set the number of segments for the circle
        num_segments = 50

        # Draw the circle
        for i in range(num_segments+1):
            angle = 2.0 * pi * i / num_segments
            x = radius * cos(angle)
            y = radius * sin(angle)
            lines.draw_to(center[0] + x, center[1] + y, center[2])

        # Create a NodePath to attach the circle geometry
        circle_np = self.render.attachNewNode(lines.create())

        # Set the line thickness
        circle_np.setRenderModeThickness(3)

    def setup_camera(self):
        self.disableMouse()
        camera.setPos(0, 0, 10)
        camera.lookAt(0, 0, 0)

app = MyApp()
app.run()

Here is a simple line

#!/usr/bin/env python3

from direct.showbase.ShowBase import ShowBase
from panda3d.core import LineSegs

class MyApp(ShowBase):
    def __init__(self):
        ShowBase.__init__(self)

        # Set up the camera
        self.setup_camera()

        # Create a LineSegs object
        lines = LineSegs()

        # Set the color of the line (red)
        lines.set_color(1, 0, 0, 1)

        # Define the starting and ending points of the line
        start_point = (0, 0, 0)
        end_point = (1, 0, 0)

        # Draw the line
        lines.move_to(start_point)
        lines.draw_to(end_point)

        # Create a NodePath to attach the line geometry
        line_np = self.render.attachNewNode(lines.create())

        # Set the line thickness
        line_np.setRenderModeThickness(3)

    def setup_camera(self):
        self.disableMouse()
        camera.setPos(0, -10, 0)
        camera.lookAt(0, 0, 0)

app = MyApp()
app.run()

Come visit my project
www.shenko.org

I don’t think that’s exactly what this post is about. At first I thought it was a joke. However, I realized that you are mistaken, since this curve is useless, it cannot be used as a path, for example, and so on.

from direct.showbase.ShowBase import ShowBase
from direct.showutil.Rope import Rope

class TestCurve(ShowBase):
    def __init__(self):
        ShowBase.__init__(self)

        curve = Rope()
        curve.ropeNode.set_num_subdiv(50)
        curve.setup(4, [(None, (-12, 0, 0)),
                        (None, (0, 0, 9)),
                        (None, (3, 0, -8)),
                        (None, (12, 0, 0))])
        curve.set_pos(0, 30, 0)
        curve.reparent_to(render)

test_curve = TestCurve()
test_curve.run()

That’s exactly the curve.

Example using weights.

from direct.showbase.ShowBase import ShowBase
from direct.showutil.Rope import Rope

class TestCurve(ShowBase):
    def __init__(self):
        ShowBase.__init__(self)

        curve = Rope()
        curve.ropeNode.set_num_subdiv(50)
        curve.setup(4, [(None, (-12,  0,  0,  0.5)),
                        (None, (  0,  0,  9,  0.2)),
                        (None, (  3,  0, -8,  0.8)),
                        (None, ( 12,  0,  0,  0.1))])
        curve.set_pos(0, 30, 0)
        curve.reparent_to(render)

test_curve = TestCurve()
test_curve.run()

These were all simple few lines of code to do one simple task in case it helps anyone.

for example, when I go onto the panda3d documentation and type in ‘bezier’ (since its used often) it points me to:

CubicCurveseg
“”"

CubicCurveseg

from panda3d.core import CubicCurveseg
“”"

I have struggled for a long time to decipher the documentation, I was just trying to help if someone searched ‘Bezier’ here my hope was they find working scripts.

I plan to eventually propose / push changes to the repo to update panda3d docs, I just haven’t gotten around to it yet

Your scripts work amazing thanxs, saved it to my library :slight_smile: spasiba

In fact, the topic of curves in panda is very confusing, looking at the implementation of Rope you can understand that it is implemented through NurbsCurveEvaluator

https://docs.panda3d.org/1.10/python/reference/panda3d.core.NurbsCurveEvaluator#nurbscurveevaluator

The problem is that it can’t be used as a path for an object, maybe I don’t have enough experience in this…

1 Like

That was on my todo list, figure out how to follow a path if I want to make a simple train.

motion-paths in documentation.

as part of my project I was going to make a complete script for each item in documentation, a complete working script, just got delayed. Everything in documentation feels like a puzzle.

Earlier, in connection with this post, I created a low-level example, but for some reason did not publish it.

from direct.showbase.ShowBase import ShowBase
from panda3d.core import RopeNode, NurbsCurveEvaluator, RopeNode, Vec4, NodePath

class TestCurve(ShowBase):
    def __init__(self):
        ShowBase.__init__(self)

        curve = NurbsCurveEvaluator()
        curve.reset(4)

        curve.set_vertex(0, Vec4(-12,  0,  0,  1))
        curve.set_vertex(1, Vec4(  0,  0,  9,  1))
        curve.set_vertex(2, Vec4(  3,  0, -8,  1))
        curve.set_vertex(3, Vec4( 12,  0,  0,  1))

        rope_node = RopeNode("rope")
        rope_node.set_curve(curve)
        rope_node.set_num_subdiv(50)
        rope_node.set_render_mode(RopeNode.RM_thread)
        rope_node.set_thickness(2)

        rope_path = NodePath(rope_node)
        rope_path.set_color(Vec4(0, 1, 0, 1))
        rope_path.reparent_to(render)

test_curve = TestCurve()
test_curve.run()

The bad news is that this cannot be used with the Mopath class. But maybe I’m missing something, or this implementation is not designed for that.

1 Like

If I’m not much mistaken, one can evaluate the curve to get a NurbsCurveResult object, then evaluate that at successive points in time to get positions at which to place an object.

Something like this:

# In initialisation:
    self.curveResult = myNurbsCurveEvaluator.evaluate(render)
    self.curveTask = taskMgr.add(self.moveObject, "move object")
    self.timer = 0
    
    self.myObject = loader.loadModel(someModelFile)
    self.myObject.reparentTo(render)

# Elsewhere...
def moveObject(self, task):
    dt = self.clock.getDt()

    self.timer += dt

    point = Vec3(0, 0, 0)
    self.curveResult.evalPoint(self.timer, point)

    self.myObject.setPos(point)
    
    return task.cont

However, I recall reading that due to the nature of such curves (in general; not just in Panda), they tend to have varying density along their extents, resulting potentially in an object so following such a curve moving at varying speed.

As such, a curve may or may not be a good choice for moving an object, depending on one’s purposes…

1 Like