Using a bit of billboard- and compass-effect trickery applied to a simple procedurally-generated piece of geometry (combined with the binning and depth-disabling as suggested by @Thaumaturge), I came up with the following:
from panda3d.core import *
from direct.showbase.ShowBase import ShowBase
import array
def create_gradient(sky_color, ground_color, horizon_color=None):
vertex_format = GeomVertexFormat()
array_format = GeomVertexArrayFormat()
array_format.add_column(InternalName.get_vertex(), 3, Geom.NT_float32, Geom.C_point)
vertex_format.add_array(array_format)
array_format = GeomVertexArrayFormat()
array_format.add_column(InternalName.make("color"), 4, Geom.NT_uint8, Geom.C_color)
vertex_format.add_array(array_format)
vertex_format = GeomVertexFormat.register_format(vertex_format)
vertex_data = GeomVertexData("prism_data", vertex_format, GeomEnums.UH_static)
vertex_data.unclean_set_num_rows(6)
# create a simple, horizontal prism;
# make it very wide to avoid ever seeing its left and right sides;
# one edge is at the "horizon", while the two other edges are above
# and a bit behind the camera so they are only visible when looking
# straight up
values = array.array("f", [
-1000., -50., 86.6,
-1000., 100., 0.,
-1000., -50., -86.6,
1000.,-50., 86.6,
1000., 100., 0.,
1000., -50., -86.6
])
pos_array = vertex_data.modify_array(0)
memview = memoryview(pos_array).cast("B").cast("f")
memview[:] = values
color1 = tuple(int(round(c * 255)) for c in sky_color)
color3 = tuple(int(round(c * 255)) for c in ground_color)
if horizon_color is None:
color2 = tuple((c1 + c2) // 2 for c1, c2 in zip(color1, color3))
else:
color2 = tuple(int(round(c * 255)) for c in horizon_color)
values = array.array("B", (color1 + color2 + color3) * 2)
color_array = vertex_data.modify_array(1)
memview = memoryview(color_array).cast("B")
memview[:] = values
tris_prim = GeomTriangles(GeomEnums.UH_static)
indices = array.array("H", [
0, 2, 1, # left triangle; should never be in view
3, 4, 5, # right triangle; should never be in view
0, 4, 3,
0, 1, 4,
1, 5, 4,
1, 2, 5,
2, 3, 5,
2, 0, 3
])
tris_array = tris_prim.modify_vertices()
tris_array.unclean_set_num_rows(24)
memview = memoryview(tris_array).cast("B").cast("H")
memview[:] = indices
geom = Geom(vertex_data)
geom.add_primitive(tris_prim)
node = GeomNode("prism")
node.add_geom(geom)
# the compass effect can make the node leave its bounds, so make them
# infinitely large
node.set_bounds(OmniBoundingVolume())
prism = NodePath(node)
prism.set_light_off()
prism.set_bin("background", 0)
prism.set_depth_write(False)
prism.set_depth_test(False)
return prism
class MyApp(ShowBase):
def __init__(self):
ShowBase.__init__(self)
# set up a light source
p_light = PointLight("point_light")
p_light.set_color((1., 1., 1., 1.))
self.light = self.camera.attach_new_node(p_light)
self.light.set_pos(5., -100., 7.)
self.render.set_light(self.light)
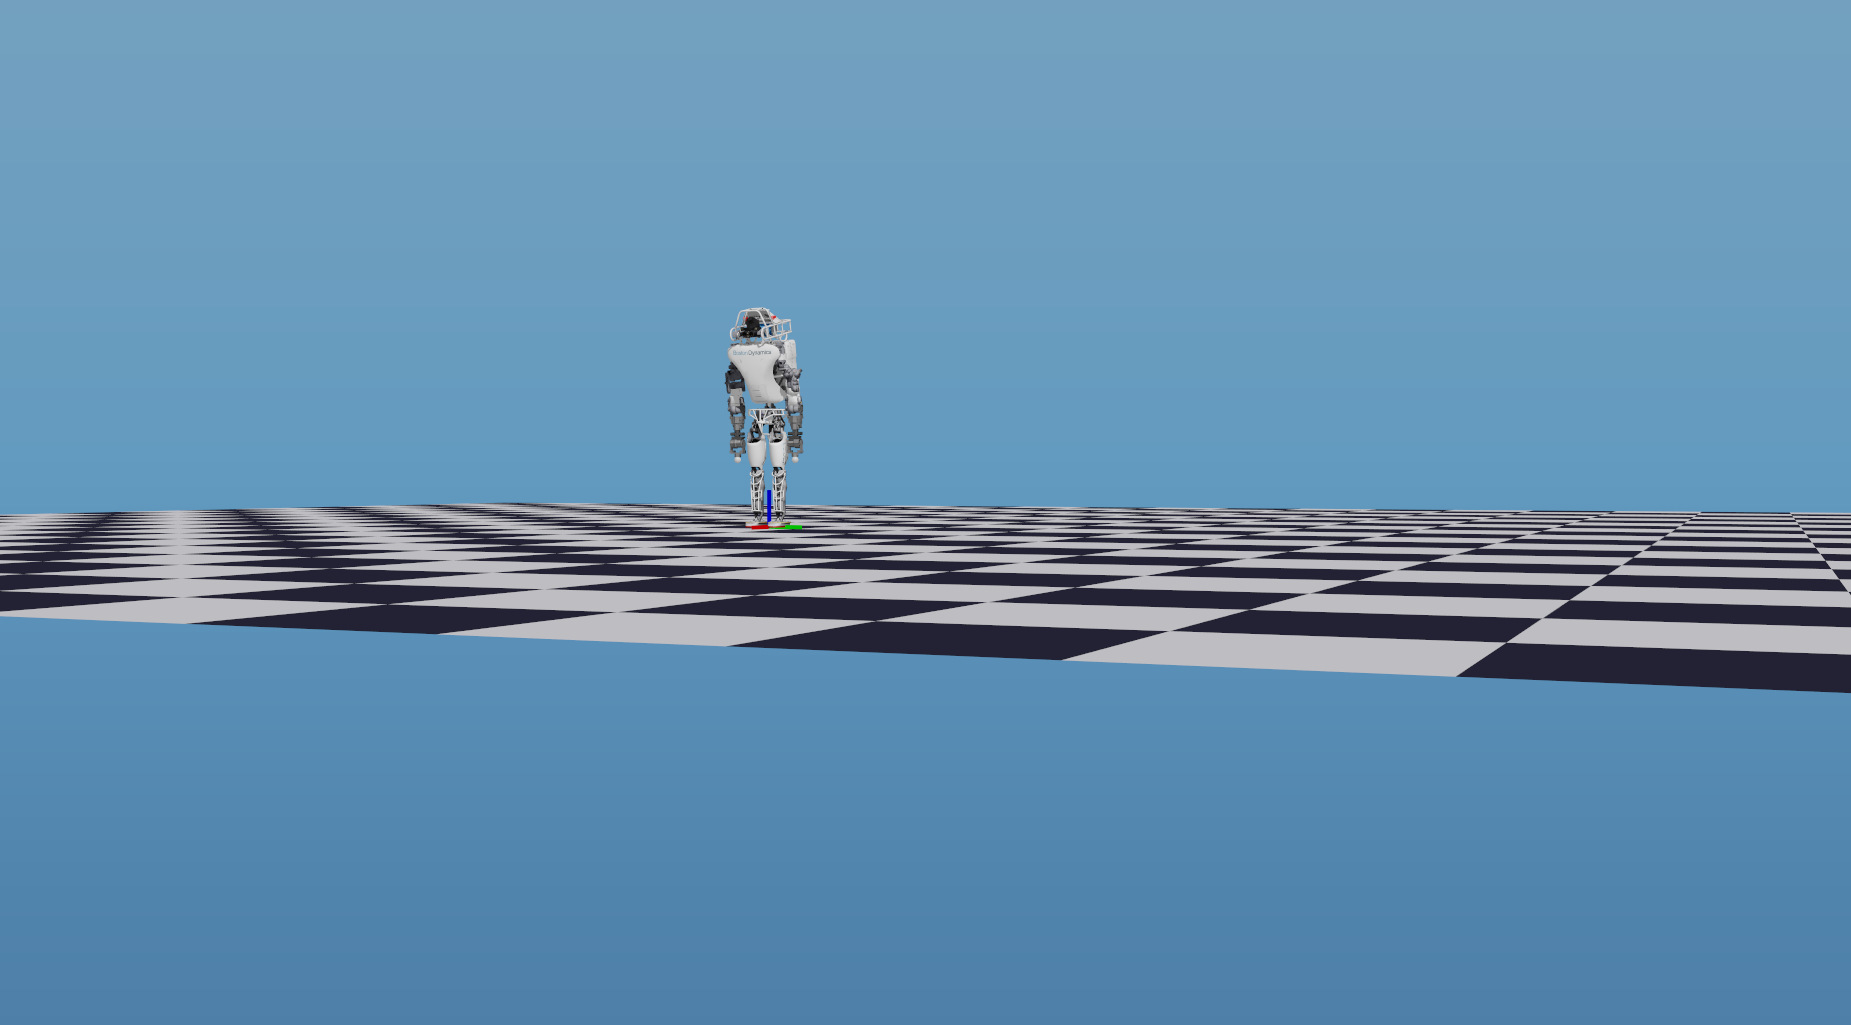
# add a model as visual reference
smiley = self.loader.load_model("smiley")
smiley.reparent_to(self.render)
smiley.set_y(10.)
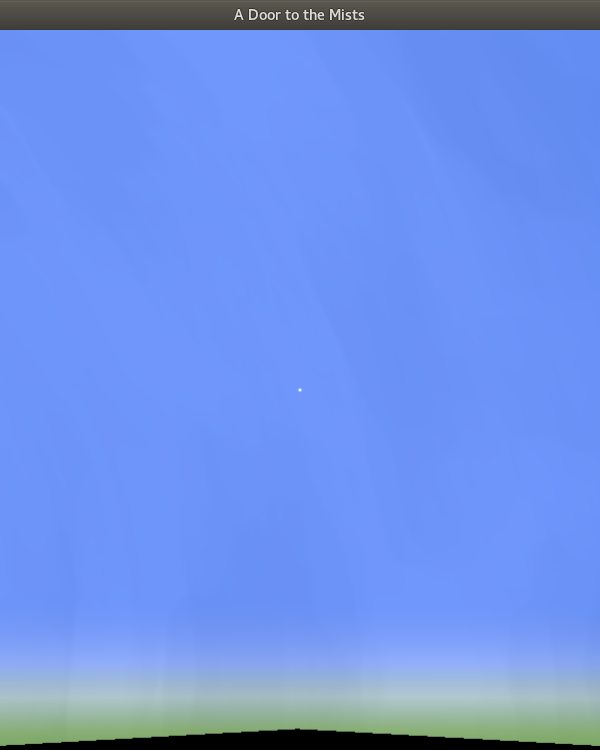
# define the colors at the top ("sky"), bottom ("ground") and center
# ("horizon") of the background gradient
sky_color = (0, 0, 1., 1.)
horizon_color = (.5, 0, .5, 1.) # optional
ground_color = (0, 1., 0, 1.)
self.background_gradient = create_gradient(sky_color, ground_color)#, horizon_color)
# looks like the background needs to be parented to an intermediary node
# to which a compass effect is applied to keep it at the same position
# as the camera, while being parented to render
pivot = self.render.attach_new_node("pivot")
effect = CompassEffect.make(self.camera, CompassEffect.P_pos)
pivot.set_effect(effect)
self.background_gradient.reparent_to(pivot)
# now the background model just needs to keep facing the camera (only
# its heading should correspond to that of the camera; its pitch and
# roll need to remain unaffected)
effect = BillboardEffect.make(
Vec3.up(),
False,
True,
0.,
NodePath(),
# make the background model face a point behind the camera
Point3(0., -10., 0.),
False
)
self.background_gradient.set_effect(effect)
app = MyApp()
app.run()
You can blend three different colors to create the gradient; these are set as vertex colors, so you don’t need a texture.
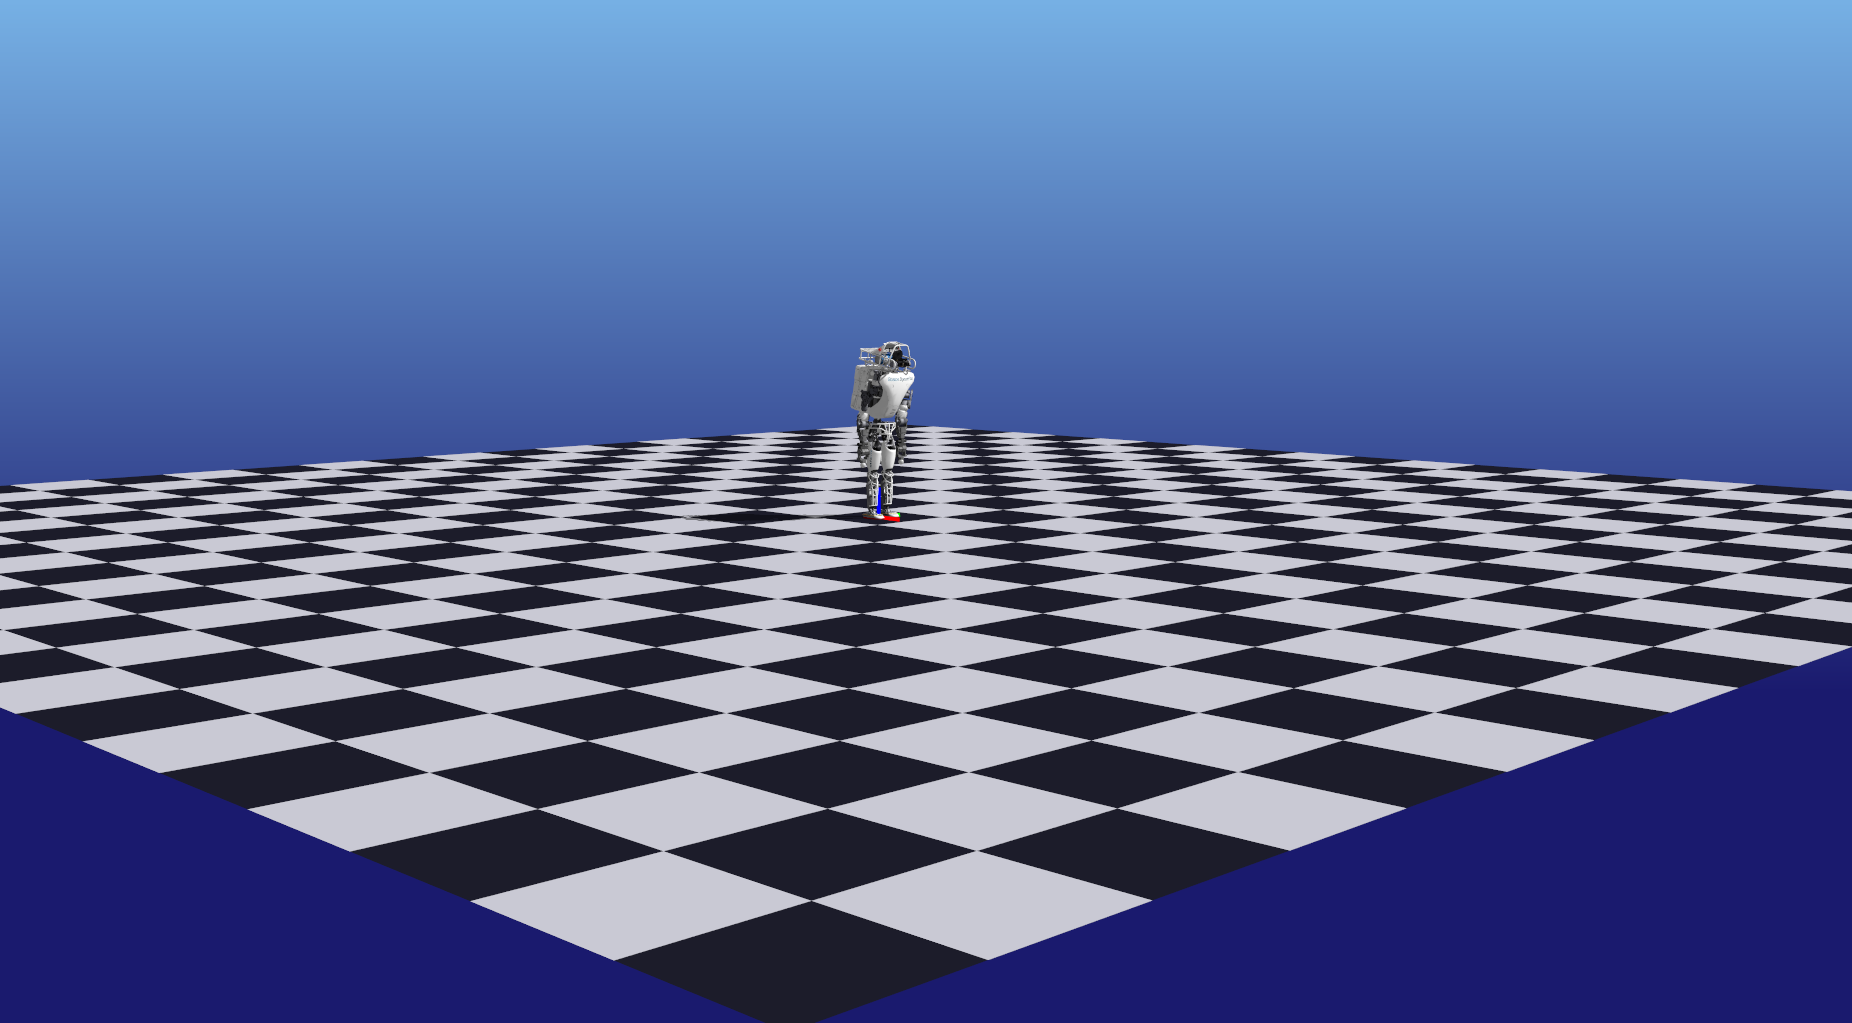
It seems to work for the most part, although some parts of the geometry (the left and right sides of the prism) come into view when panning the camera, which shouldn’t happen. Not sure what the reason is, but perhaps this doesn’t occur when using a custom camera controller. Perhaps I’ll test that later.
EDIT:
Looks like I got it to work correctly now.
Anyway, hopefully this suits your needs  .
.

 .
.