Blender GLTF exporting in Panda3d

Hello my friends:

Trying to figure simplest way to get ‘bump map’ and ‘shininess’ to work in the game.
here is my workflow so far.

I create my model and apply the textures in Blender. Then in export I select GLTF
(I’m new they will only let me upload 1 screenshot )

Making sure to choose GLTF embedded, in order to pack the textures with the file.

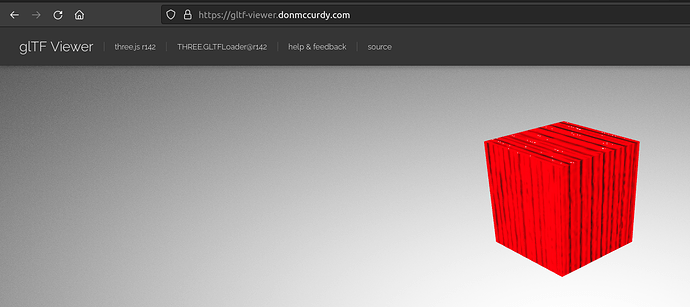
I like to go on this site, upload my file to get a preview;
GLTF online Viewer

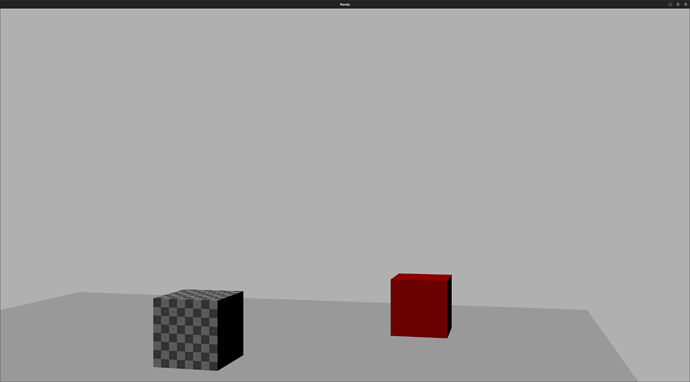
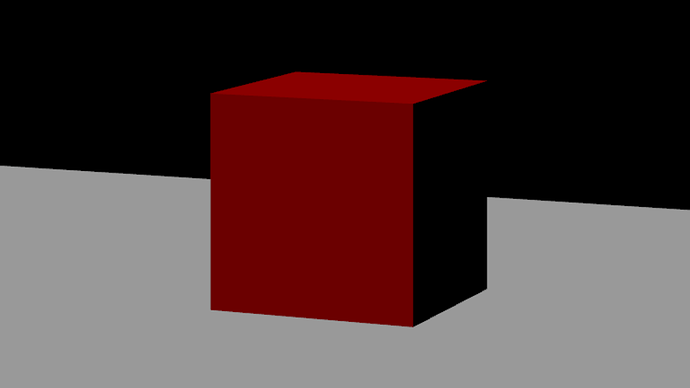
The results in the game engine after adding lights, still aren’t what you would expect;
Screenshot from 2022-07-26 08-55-46

What we need is a ‘shader’ that tells Panda3d how to display that bump map and the glossyness.
but all the tutorials I tried were for the old .egg format not GLTF. and for some reason I can’t get it to work.

My question is there a sort of ‘toggle’ to just tell panda to do it? Like built into the engine?
Panda3d.core.Shader

from panda3d.core import Shader

# Something like this;
self.abracadabra.allMyTexturesAppear

If any of you fellas can point me in the right direction I would be much obliged.

Not That its relevant but the code just in case;

#!/usr/bin/env python3

"""

Works but we need to figure out how to use a 'shader'
in order to apply the bump-mapping
My red cube if you load it in a GLTF you will see has bump map on it.

"""

import sys
from math import pi, sin, cos

from direct.showbase.ShowBase import ShowBase
from direct.task import Task
from direct.actor.Actor import Actor
from direct.interval.IntervalGlobal import Sequence
from panda3d.core import Point3

from panda3d.core import AmbientLight
from panda3d.core import DirectionalLight
from panda3d.core import LPoint3


class MyApp(ShowBase):
    def __init__(self):
        ShowBase.__init__(self)

        self.accept('escape', sys.exit)

        # Disable the camera trackball controls.
        self.disableMouse()

        # Check video card capabilities.
        if not self.win.getGsg().getSupportsBasicShaders():
            addTitle("Bump Mapping: "
                "Video driver reports that Cg shaders are not supported.")
            return

        # put some lighting on the model
        dlight = DirectionalLight('dlight')
        alight = AmbientLight('alight')
        dlnp = render.attachNewNode(dlight)
        alnp = render.attachNewNode(alight)
        dlight.setColor((1.0, 1.0, 1.0, 1))
        alight.setColor((0.5, 0.5, 0.5, 1))
        dlnp.setHpr(0, -60, 0)
        render.setLight(dlnp)
        render.setLight(alnp)

        # Load the environment model.
        self.scene = self.loader.loadModel("models/floor_plane.gltf")
        # Reparent the model to render.
        self.scene.reparentTo(self.render)
        # Apply scale and position transforms on the model.
        self.scene.setScale(1, 1, 1)
        self.scene.setHpr(0, 90, 0)
        self.scene.setPos(0, 0, 0)

        # Add the spinCameraTask procedure to the task manager.
        self.taskMgr.add(self.spinCameraTask, "SpinCameraTask")

        # Load and transform the panda actor.
        self.textcube = Actor("models/textured_cube.gltf")
        self.textcube.setPos(0, 0, .5)
        self.textcube.setScale(0.5, 0.5, 0.5)
        self.textcube.reparentTo(self.render)

        # Load and transform the panda actor.
        self.pandaActor = Actor("models/shiny_red_cube.gltf",
                                {"walk": "models/panda-walk4"})
        self.pandaActor.setPos(3, 3, .5)
        self.pandaActor.setScale(0.5, 0.5, 0.5)
        self.pandaActor.reparentTo(self.render)

    # Define a procedure to move the camera.
    def spinCameraTask(self, task):
        angleDegrees = task.time * 6.0
        angleRadians = angleDegrees * (pi / 180.0)
        speed = 20
        offset = -10
        zheight = 2.5
        self.camera.setPos(speed * sin(angleRadians), offset * cos(angleRadians), zheight)
        self.camera.setHpr(angleDegrees, 0, 0)
        return Task.cont

app = MyApp()
app.run()
Not a toggle, as such, but there’s an add-on for Panda3D, called “simplePBR”, that might do what you want.

The following manual page should provide more information, as well as relevant links:
https://docs.panda3d.org/1.10/python/tools/model-export/converting-from-blender

Thanx!

This brought me one step closer.

Install pand3d-gltf

pip install panda3d-gltf 

and then I did this (said it was already installed)

pip install panda3d-simplepbr

In my code I added

# We need to import simplepbr.
import simplepbr

# somewhere near the top of the script before adding in my models.
simplepbr.init()

Its renders differently but still im not seeing like glossy or bump on my model, but you definitely got me on the right track.

I jumped through all the links, this tutorial had the code examples I just mentioned

Loading glTF Objects in Panda3D

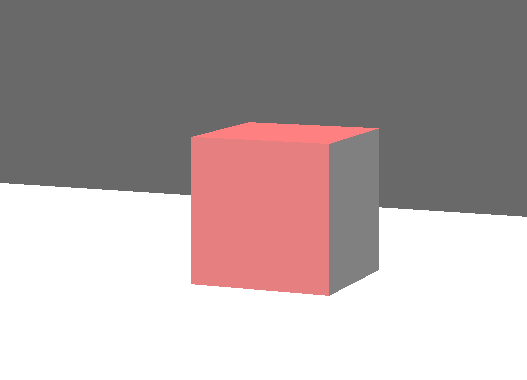
It’s supposed to look like this, but instead it looks like I ordered my cube from wish.com

Unfortunately, I don’t much use PBR, let alone simplePBR specifically, and so am not all that familiar with it.

My main suggestion, based on what experience I do have, is to compare your texture-slots to those required by simplePBR–if they’re in the wrong order, or some expected slot is missing, then you might find that the rendering doesn’t come out as expected.

Finally, you might look at the below thread from my own dealings with simplePBR–while perhaps not exactly the same, it might perhaps hold some useful information.

1 Like

For my project I don’t need fantastic graphics. There is a lot to be done before I look at these finer details. The other thing I forgot to look at was the ‘Render-Pipeline’ which if I’m not mistaken I read might be incorporated into the engine in the future.

Render Pipeline On GithubYoutube Tutorial talking about ‘Render Pipeline’

Anyways I’m glad I have a good starting point. I grateful for this project and this community, now I just need to build something amazing.

She’s not that ugly!

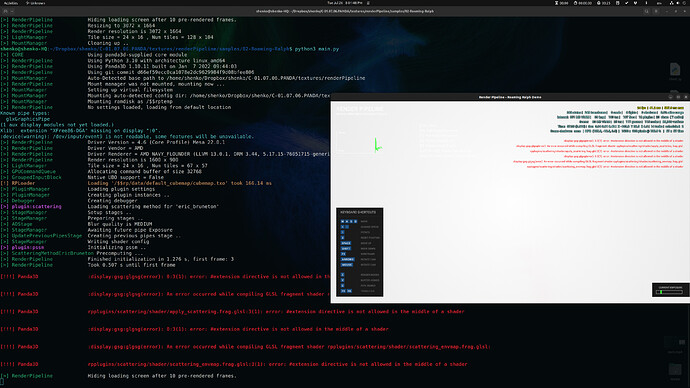
I installed ‘Render Pipeline’ and downloaded the samples but then ran into some bugs, which I fixed by looking under ‘issues’ on their github page but the last issue seems to be big, A problem with AMD card support.

Worth taking a look at, didn’t work for me only because of AMD support issues;

Link to RenderPipeline Project on Github

panda3d-gltf and simplepbr have been using Panda’s new(ish) semantic texture slots for a while now, so texture order no longer matters.

Just to be certain, are you using a normal map for the “bump mapping”, and, if so, are you initializing simplepbr with use_normal_maps=True?

1 Like

I took a second look at all my settings in Blender
Fixed some things and then tried systematically going through a number of different settings.

Youtube tutorial I used on GLTF in Blender;
Part 3: Creating a glTF-compatible Blender material from a set of PBR textures

Also added 'use_normal_maps=True but can you confirm I did this right?
I just stuck it in my code like this;

        # We must call simplepbr's init method here.
        simplepbr.init()
        simplepbr.use_normal_maps=True

This cube feels like, when you bite into a piece of cheese and it has no taste. When you look down at the packaging and it says ‘Now with %30 less fat’. Who is asking for %30 less fat in their cheese? who? nobody!