So I want to be able to cut out a part of a texture of my model in order to place another texture underneath that. The best way to do that seems to be decals(by all means, please correct me if there’s a better way). By using a decal across the entire model, only the alpha cutouts will show the model underneath. but the problem is, the majority of the model thus becomes shaderless as it says in the documentation.
Is there a better way to accomplish this same effect? If not, could anyone point me in the direction of how I might go about fixing this (Shaders, maybe?)
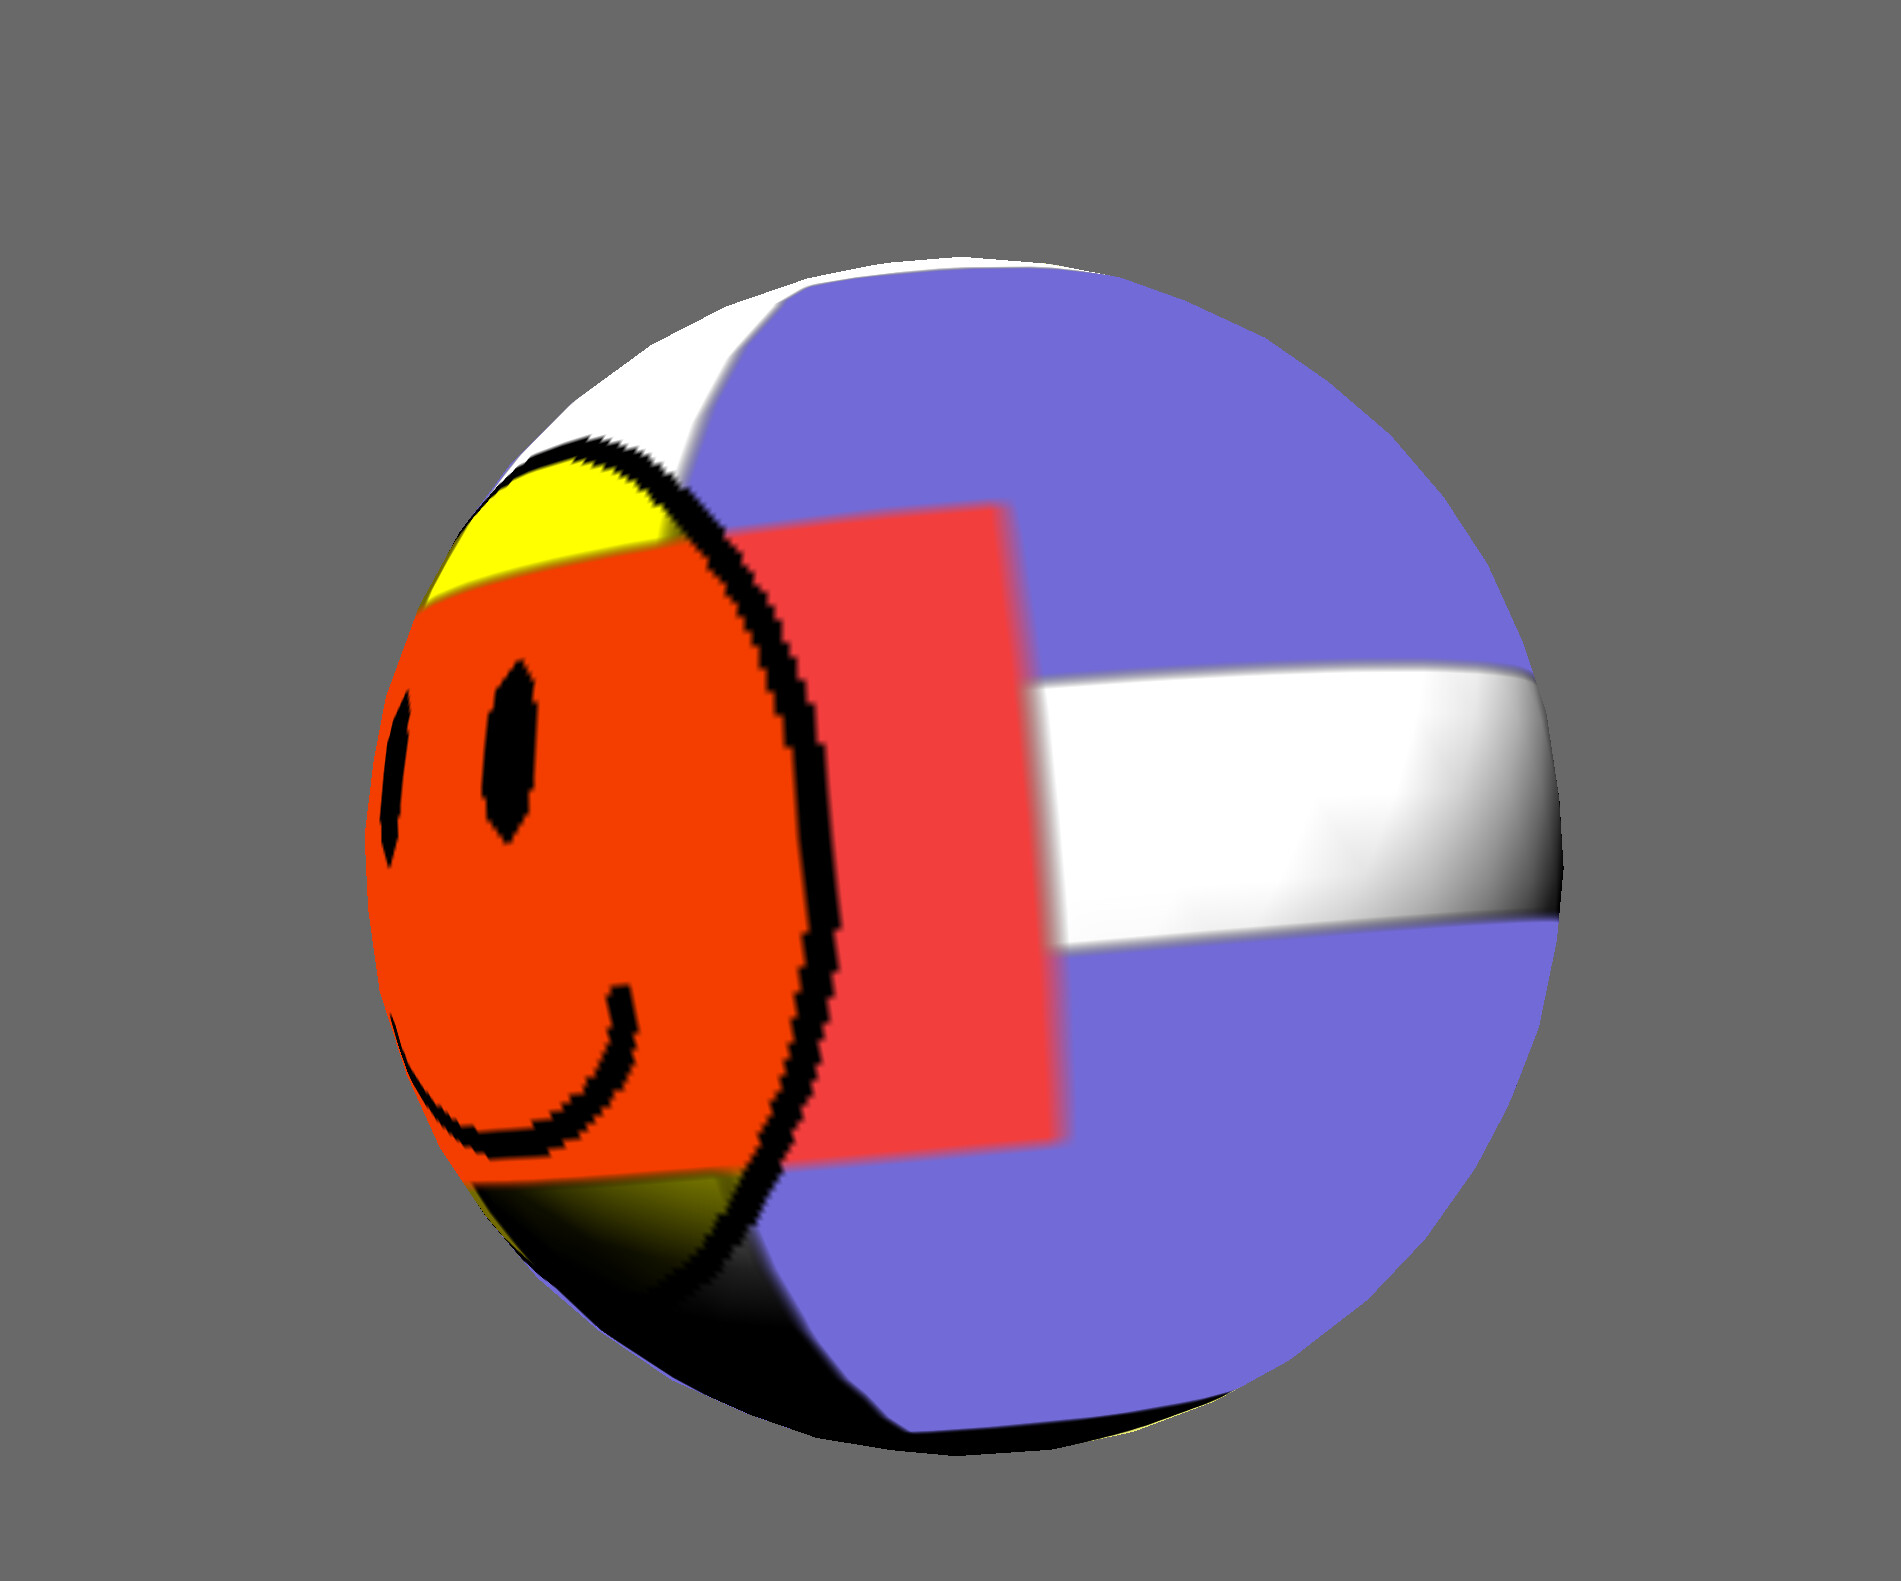
Here’s a mockup of the effect I hope to achieve from Blender:
You can combine the textures into a single one on the CPU side (probably using PNMImage, maybe PfmFile, and if neither of those work, push the work out of Panda3D and into numpy/Pillow).
Using shaders is absolutely a possibility, and probably easier than you think. Unless you want to use shadows, but even that should be relatively simple. They only become a complex topic once you start throwing All The Cool Techniques at them, but then you’re in Panda3D-can’t-do-that-out-of-the-box-anyway territory, like doing screen space decals in a deferred shading setup.